How do I separate a customer's first and last name in Rekaz?
To show separate first-name and last-name fields, enable the Separate First and Last Name setting in Rekaz and save the change. The separate fields appear in customer details and in the booking interface where applicable.
After saving, test the booking form before asking customers to use it.
Steps
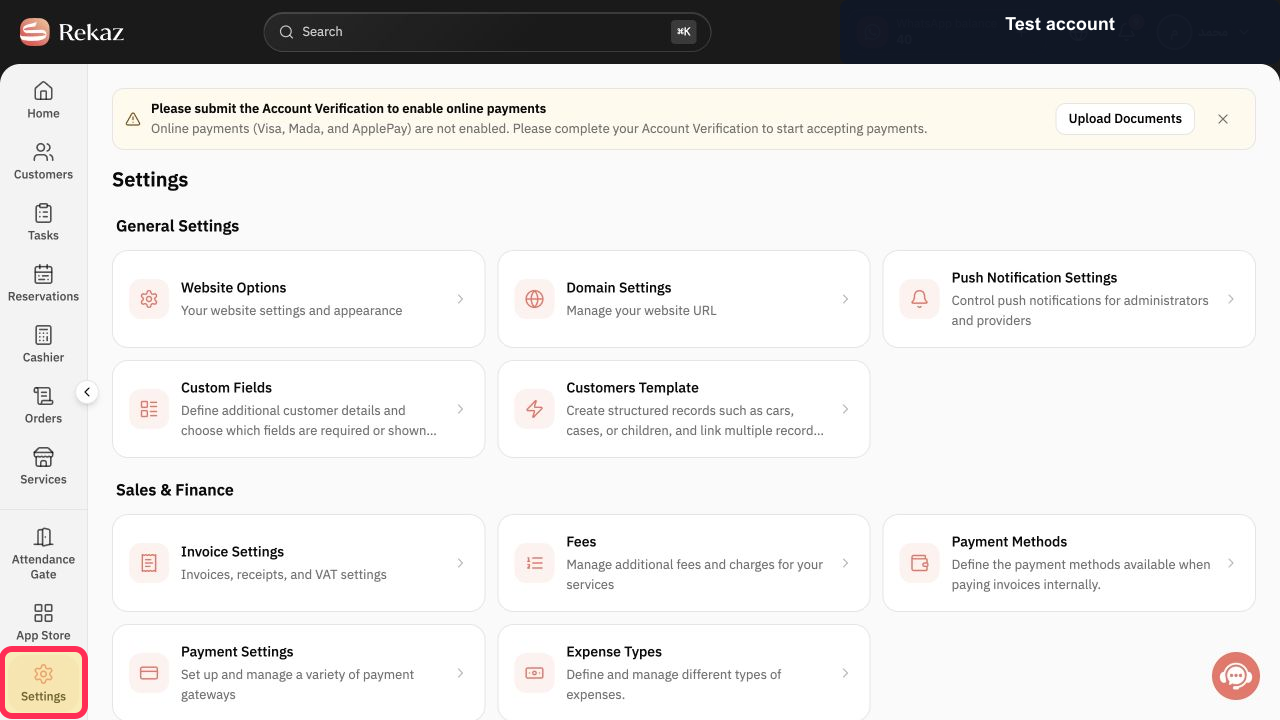
From the signed-in Rekaz dashboard, select Settings in the sidebar.
The Settings area opens.
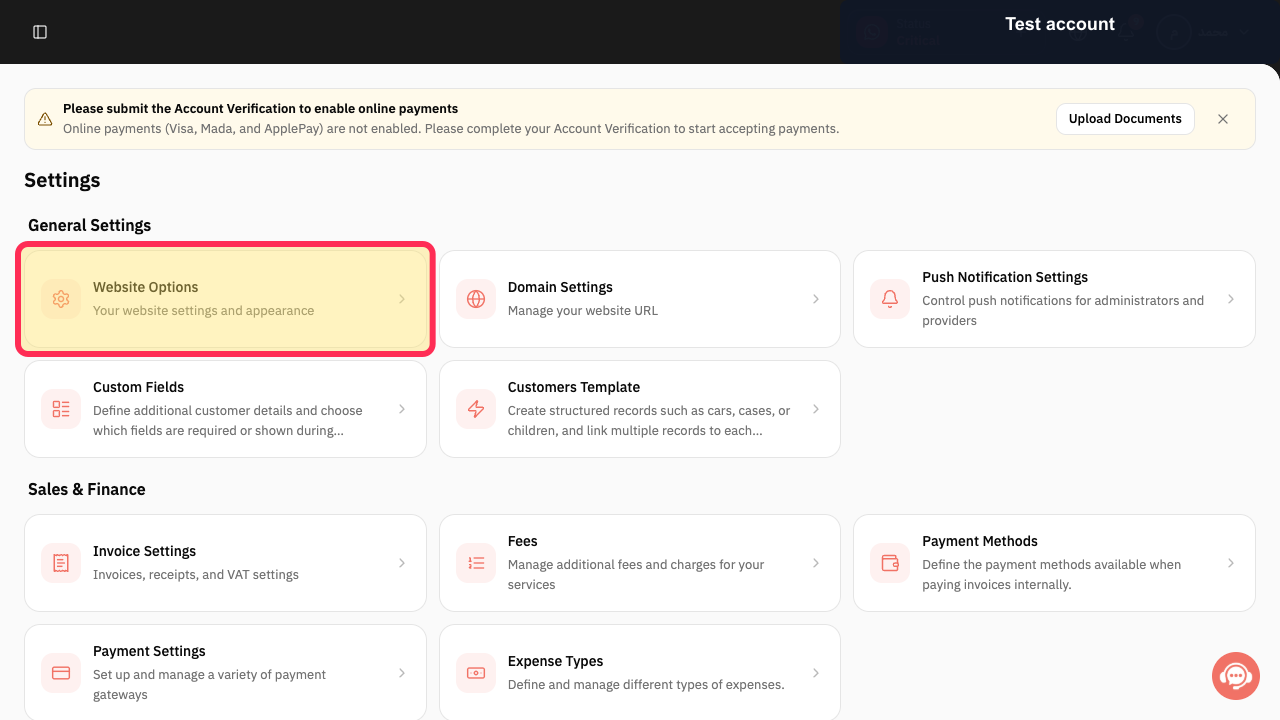
Open Website Options.
The Website Options page opens.
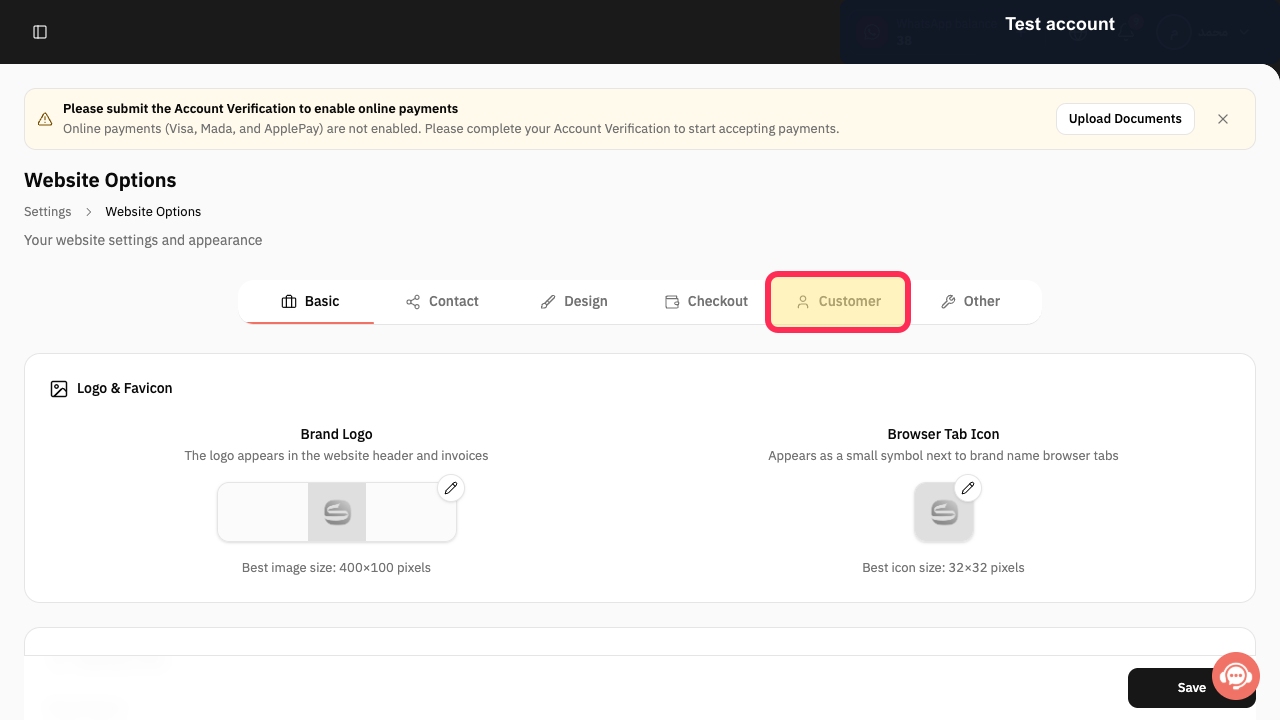
Open the Customer Data tab.
Customer-related website settings are displayed.
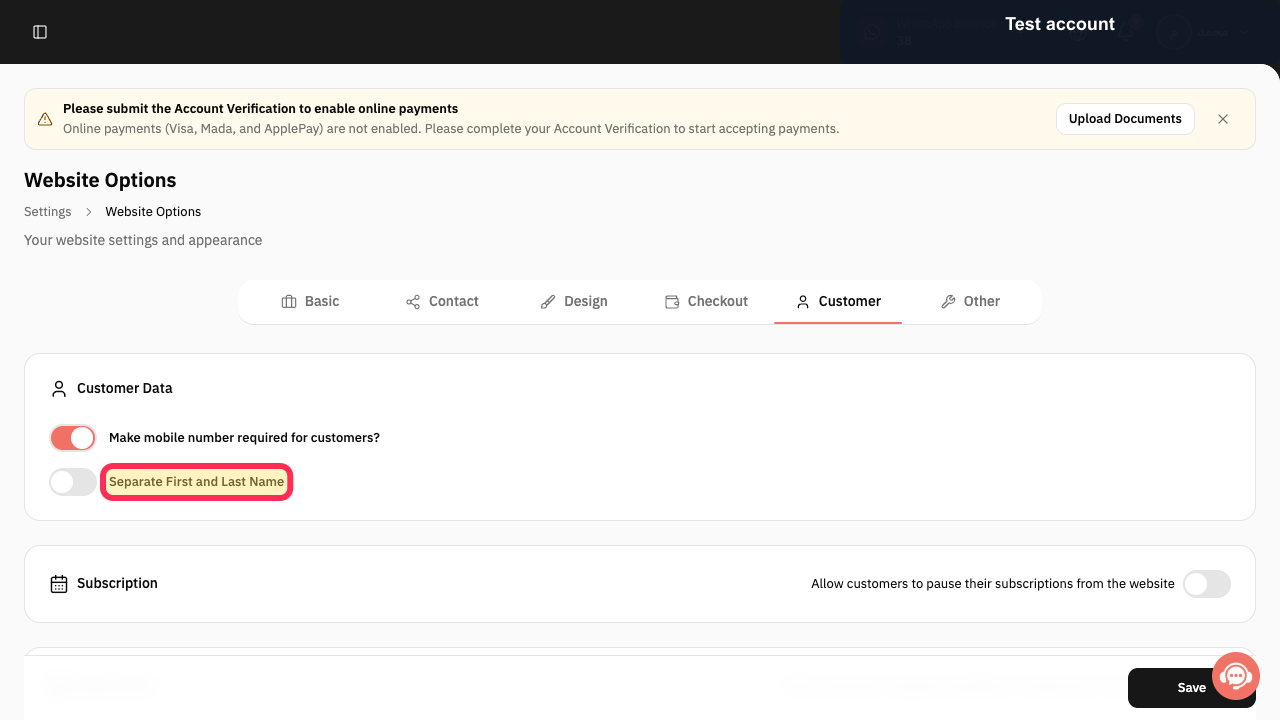
Enable Separate First and Last Name.
The Separate First and Last Name setting is enabled.
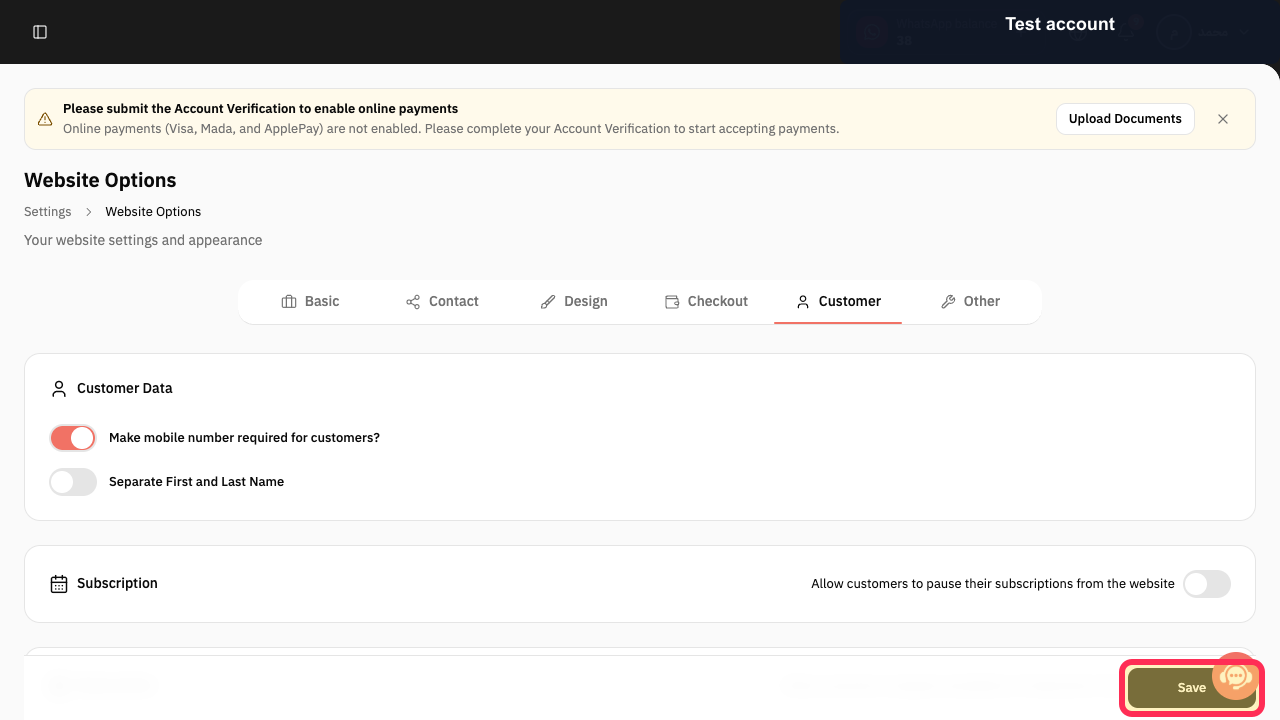
Select Save.
The updated setting is saved.
Illustrated guide
Step 1: The Rekaz sidebar with Settings highlighted.
Step 2: The Settings area with Website Options highlighted.
Step 3: The Website Options page with the Customer Data tab highlighted.
Step 4: The Customer Data tab with the Separate First and Last Name setting highlighted.
Step 5: The Website Options page with the Save button highlighted.
What changes after you enable this setting?
Separate First Name and Last Name fields are shown in customer information and in the booking interface, depending on where they are used.
Before customers use the booking form
Test the booking form after saving the setting to confirm that the separate name fields appear as expected.
Related questions
Where can I find the option to separate a customer's first and last name in Rekaz?
What are the steps to show first and last name in separate fields in Rekaz?
Why are the customer's first and last name fields combined in Rekaz?


