How do I add a custom field for customer data in Rekaz?
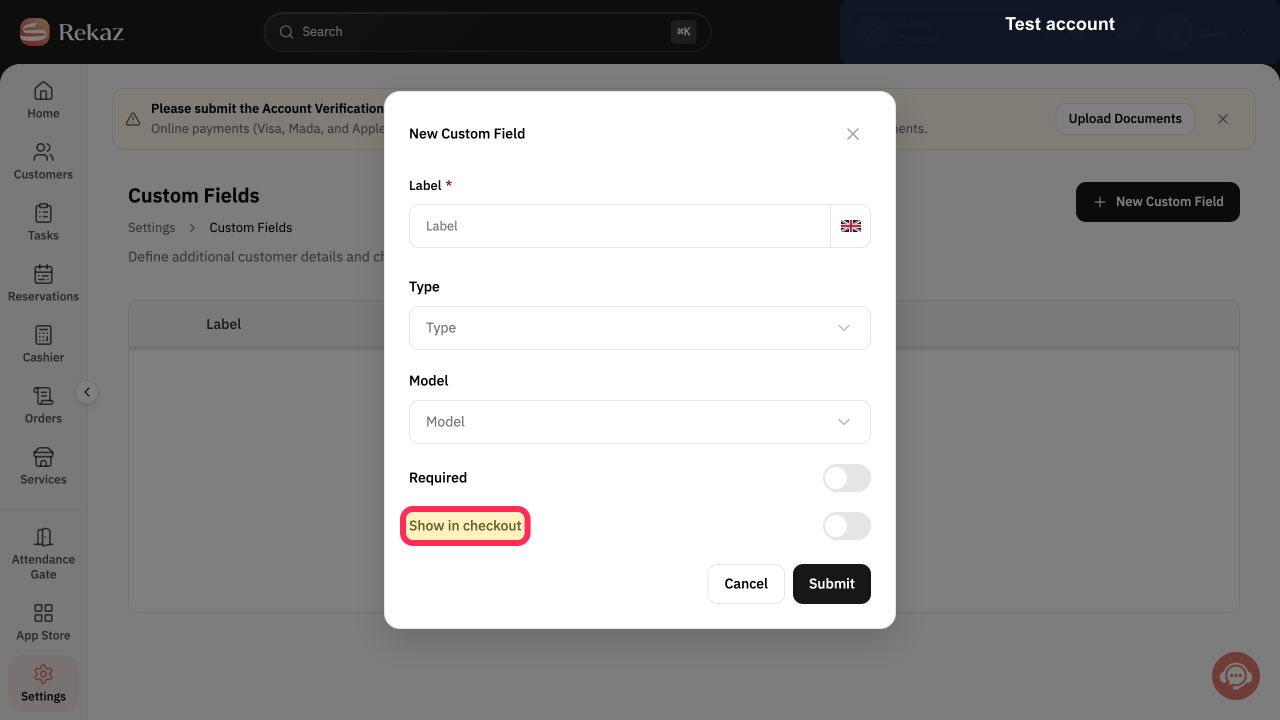
The current Rekaz dialog uses Submit as the final action and Show in checkout for checkout visibility.
Avoid collecting sensitive or unnecessary information in a custom field.
Steps
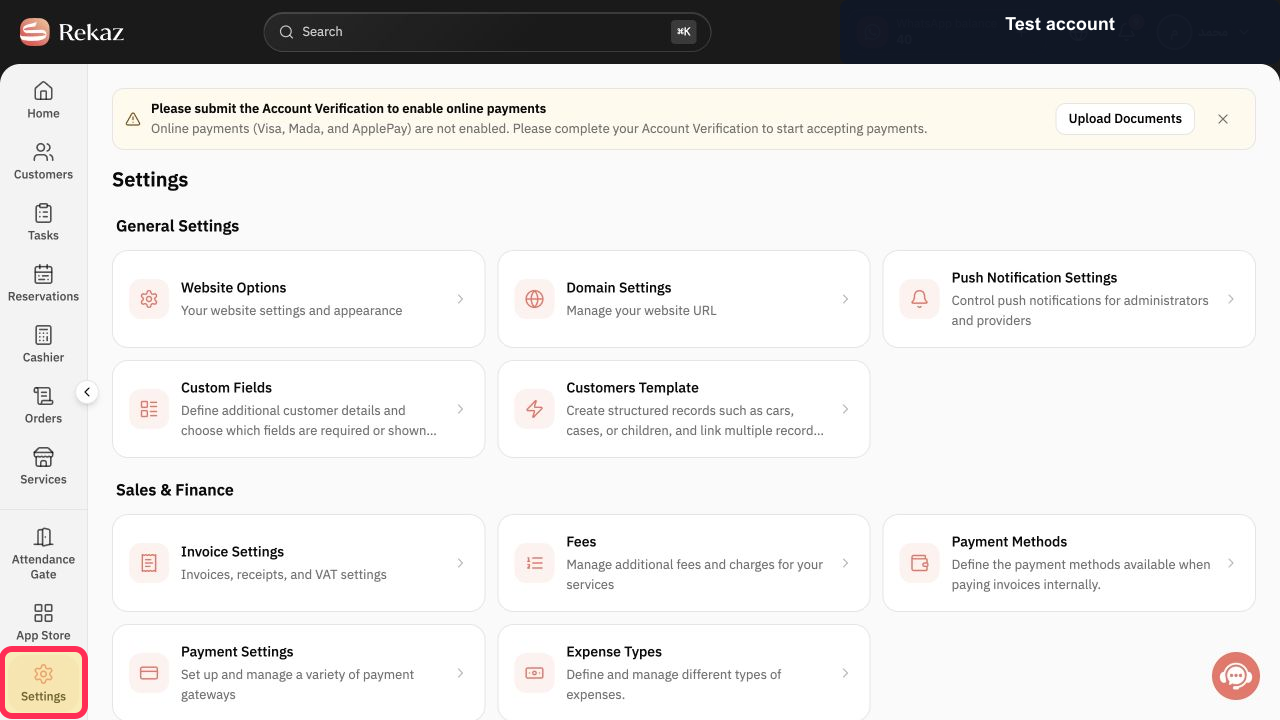
From the Rekaz navigation, select Settings.
The Settings page opens.
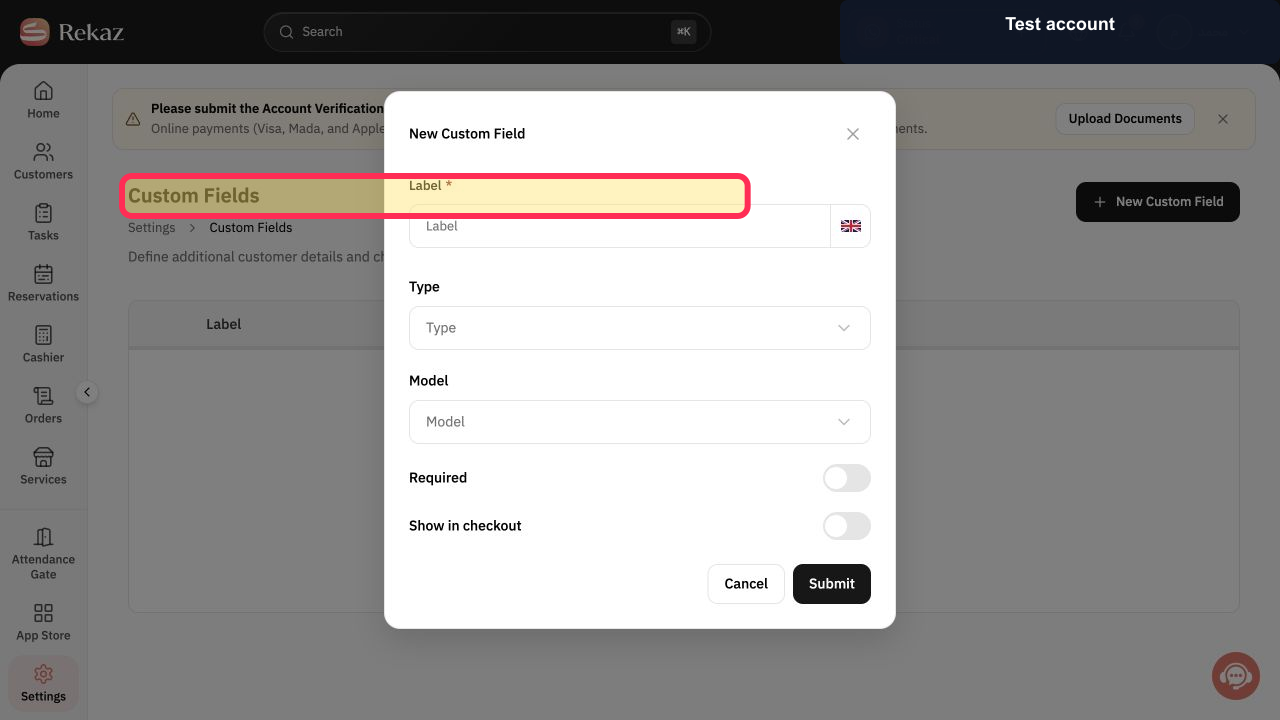
Open Custom Fields.
The Custom Fields page opens.
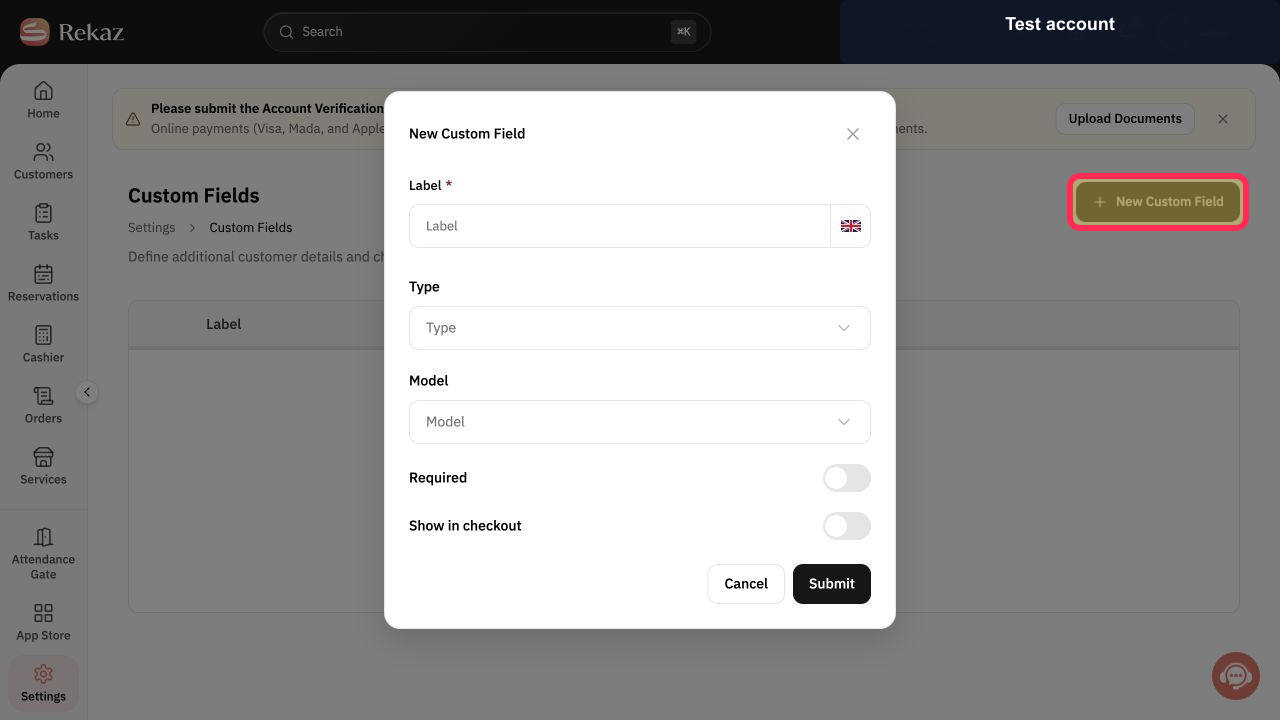
Select New Custom Field.
The New Custom Field dialog opens.
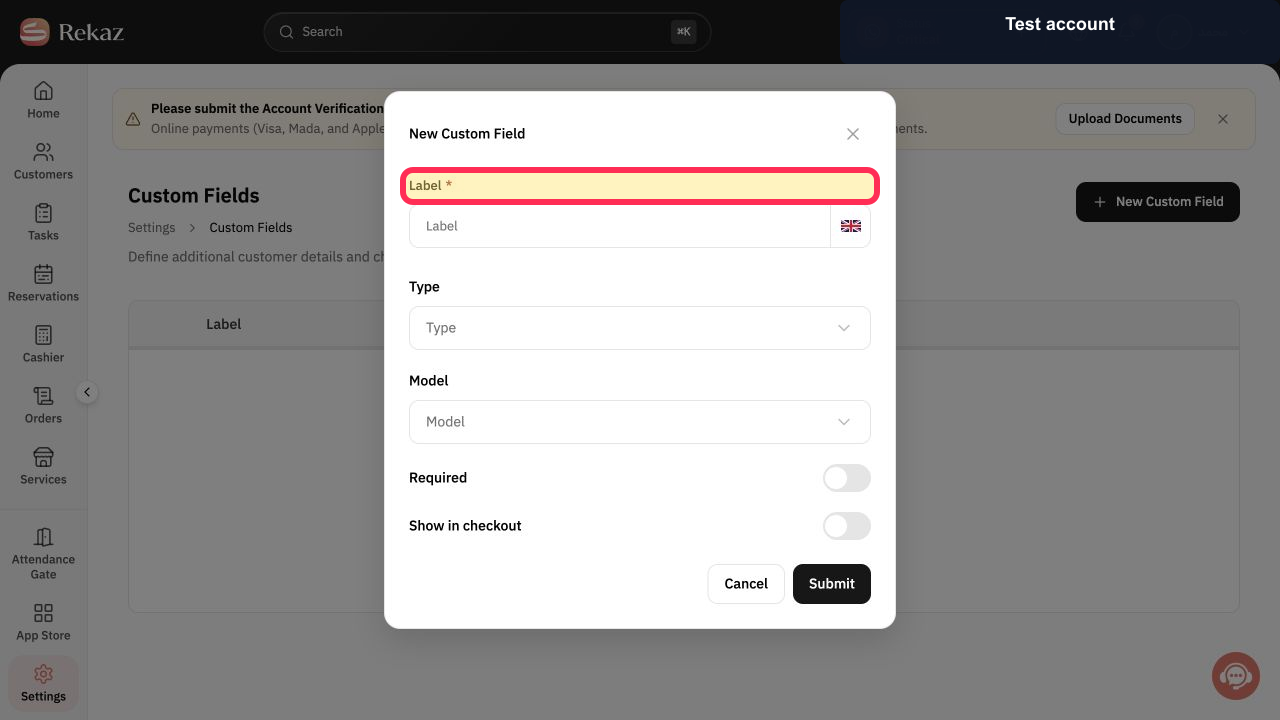
Enter the field name under Label*.
The field label is entered.
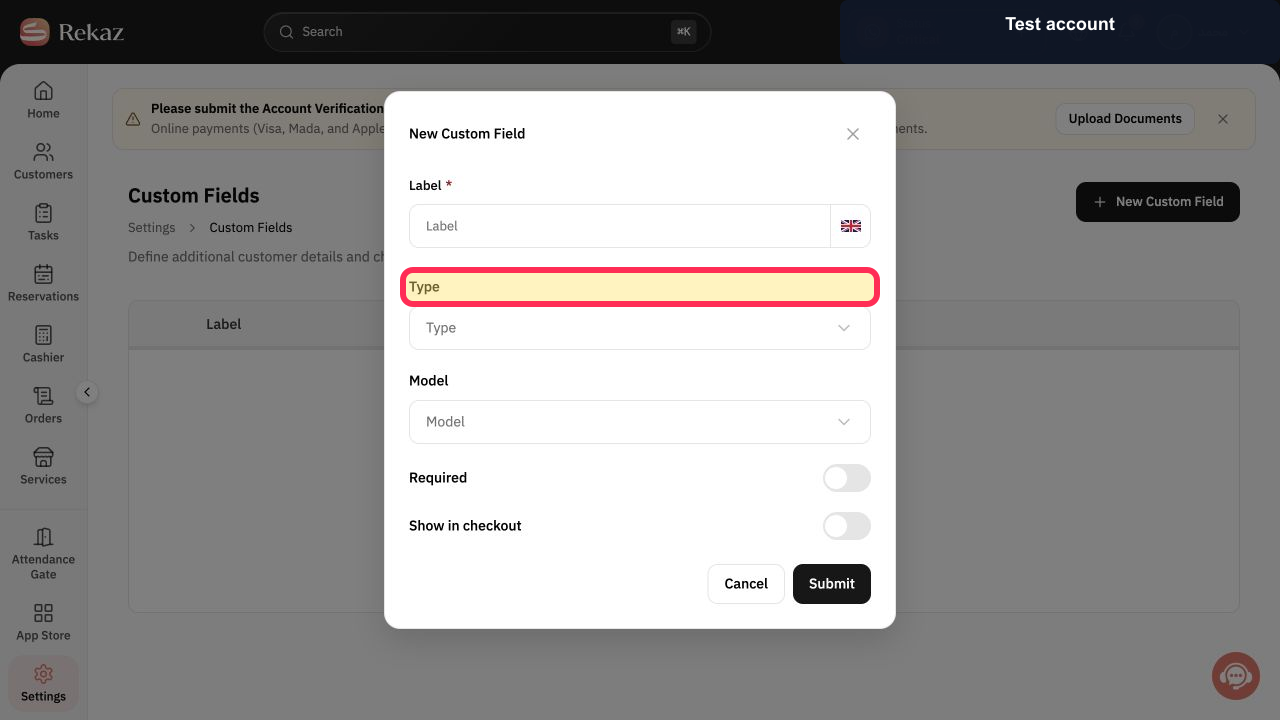
Select Type and choose the correct input type.
The field type is configured.
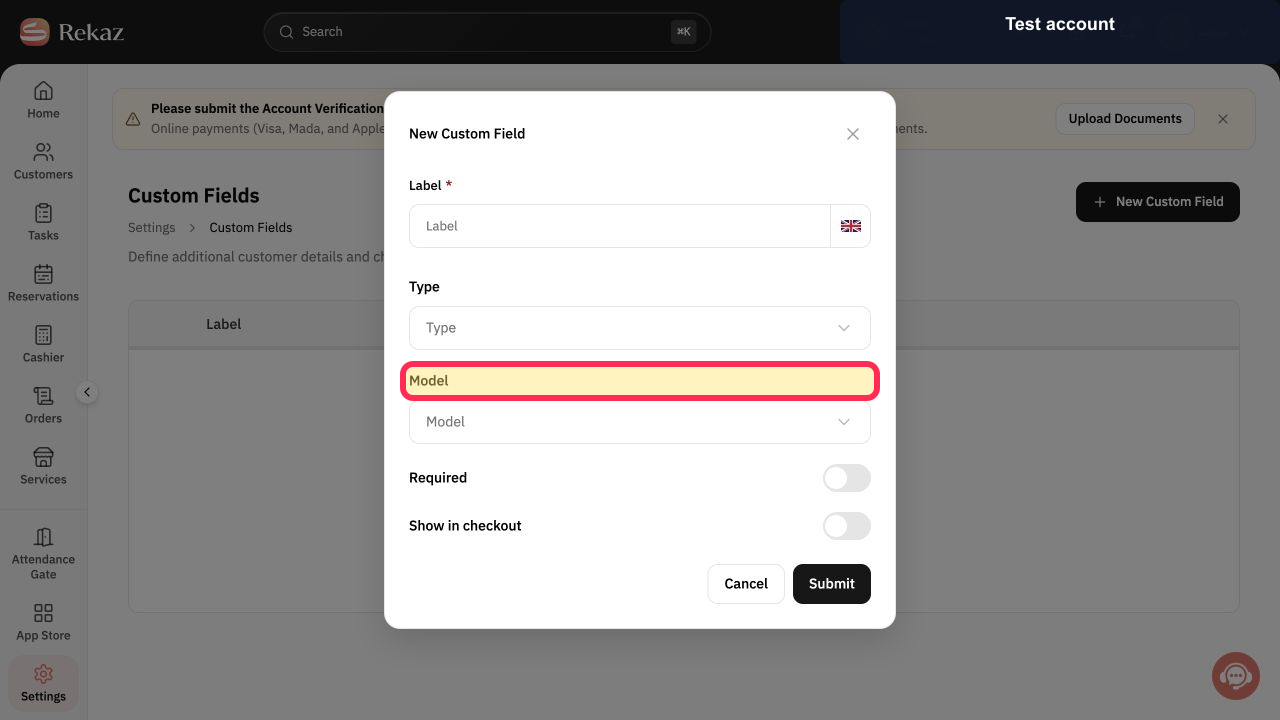
Select Model and choose the intended model.
The field model is configured.
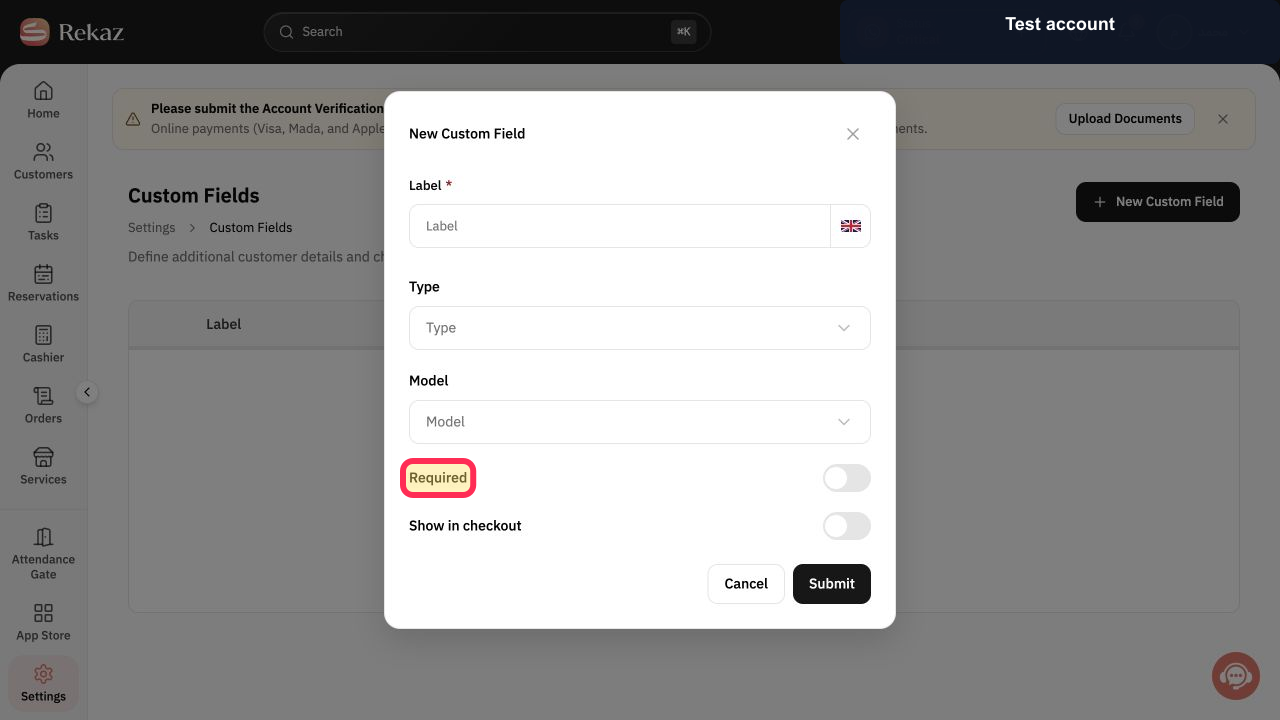
Set Required according to whether the information is mandatory.
The required status is configured.
Set Show in checkout according to whether the field should appear during checkout.
The checkout visibility is configured.
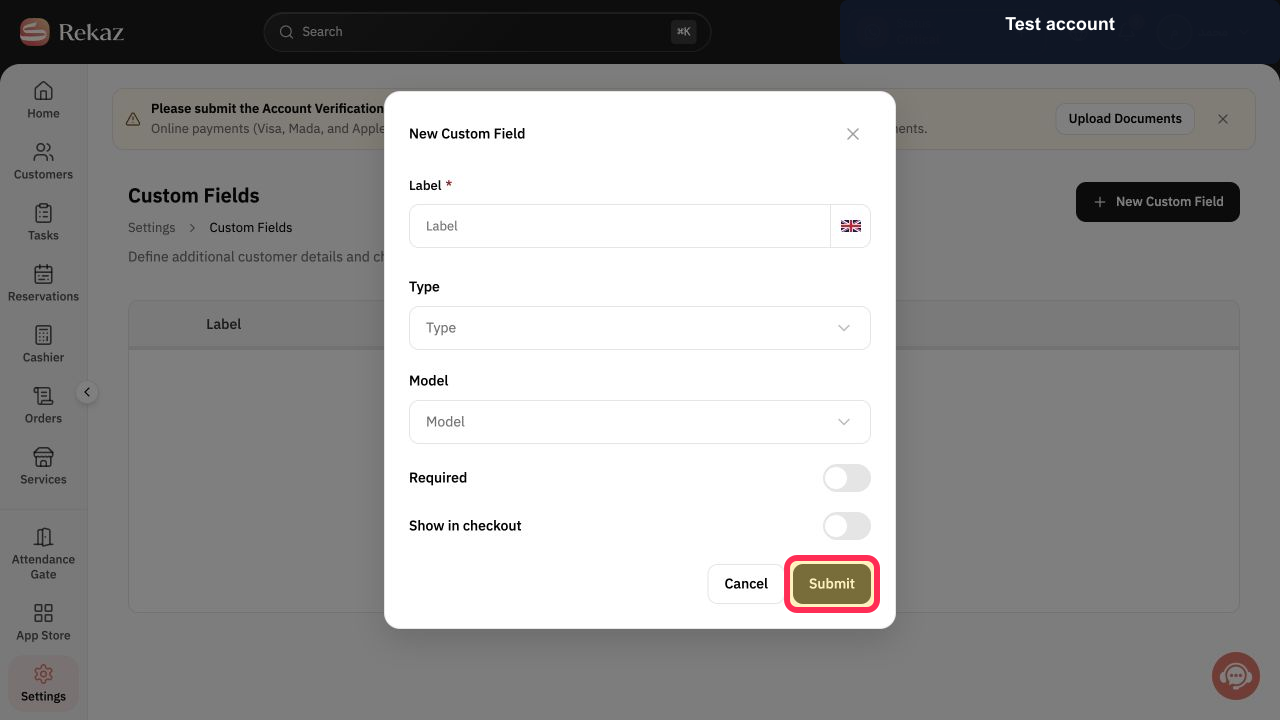
Review the settings and select Submit.
The custom field is submitted for creation.
Illustrated guide
Step 1: Open Rekaz Settings.
Step 2: Open Custom Fields in Rekaz.
Step 3: Open the New Custom Field dialog.
Step 4: Enter the customer-data field label.
Step 5: Choose the customer-data field type.
Step 6: Choose the custom field model.
Step 7: Set whether the customer field is required.
Step 8: Set the customer field's checkout visibility.
Step 9: Submit the customer-data field.
Important notes
Review the field settings and entered data before saving.
The exact location of Custom Fields within Settings should be confirmed in the live interface.
Related questions
Where can I find Custom Fields in Rekaz?
How do I make a customer custom field required in Rekaz?
How do I show a customer custom field on my website in Rekaz?


