How do I add a custom customer field in Rekaz?
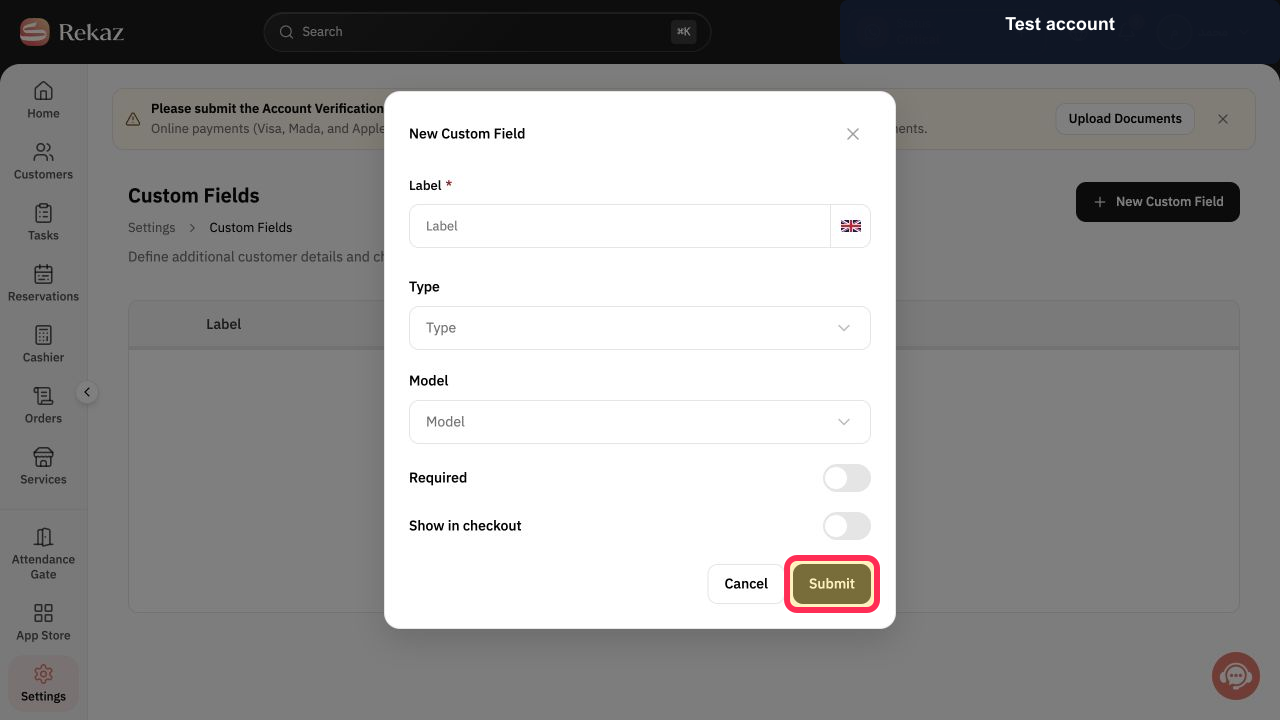
The New Custom Field dialog uses Label*, Type, Model, Required, Show in checkout, and Submit.
Use a clear label and collect only information that is necessary for the customer workflow.
Steps
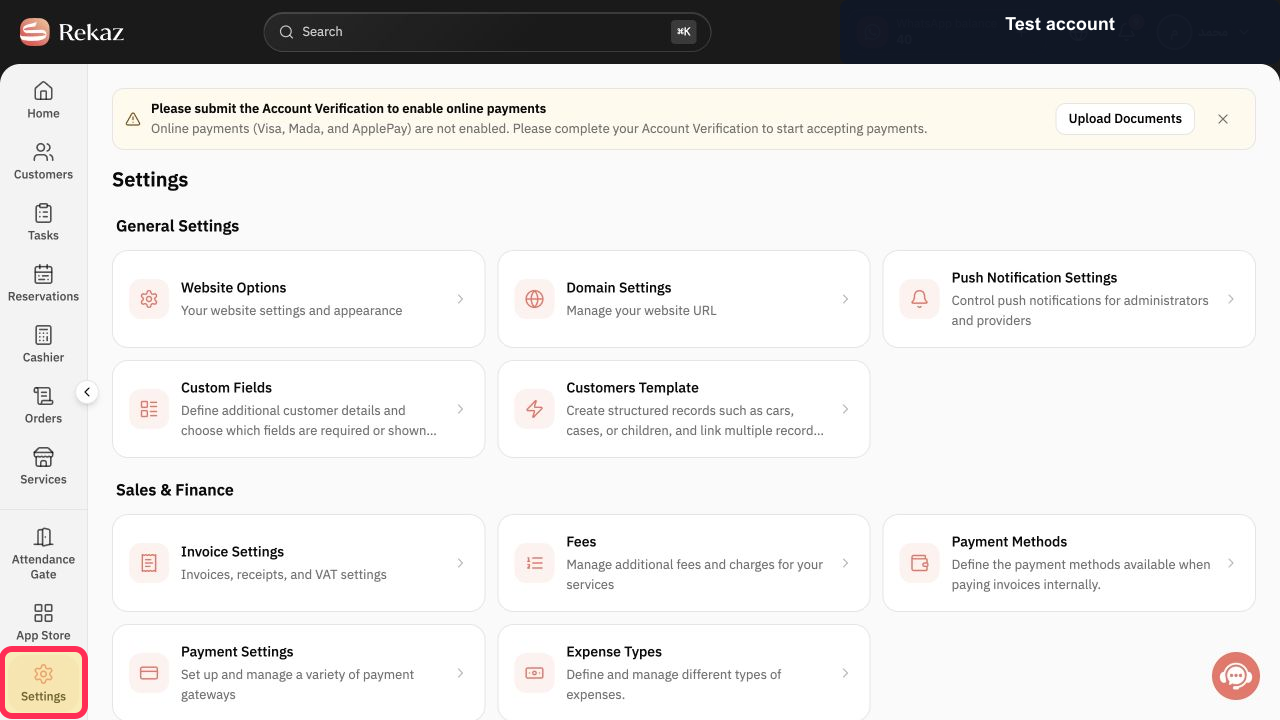
From the Rekaz navigation, select Settings.
The Settings page opens.
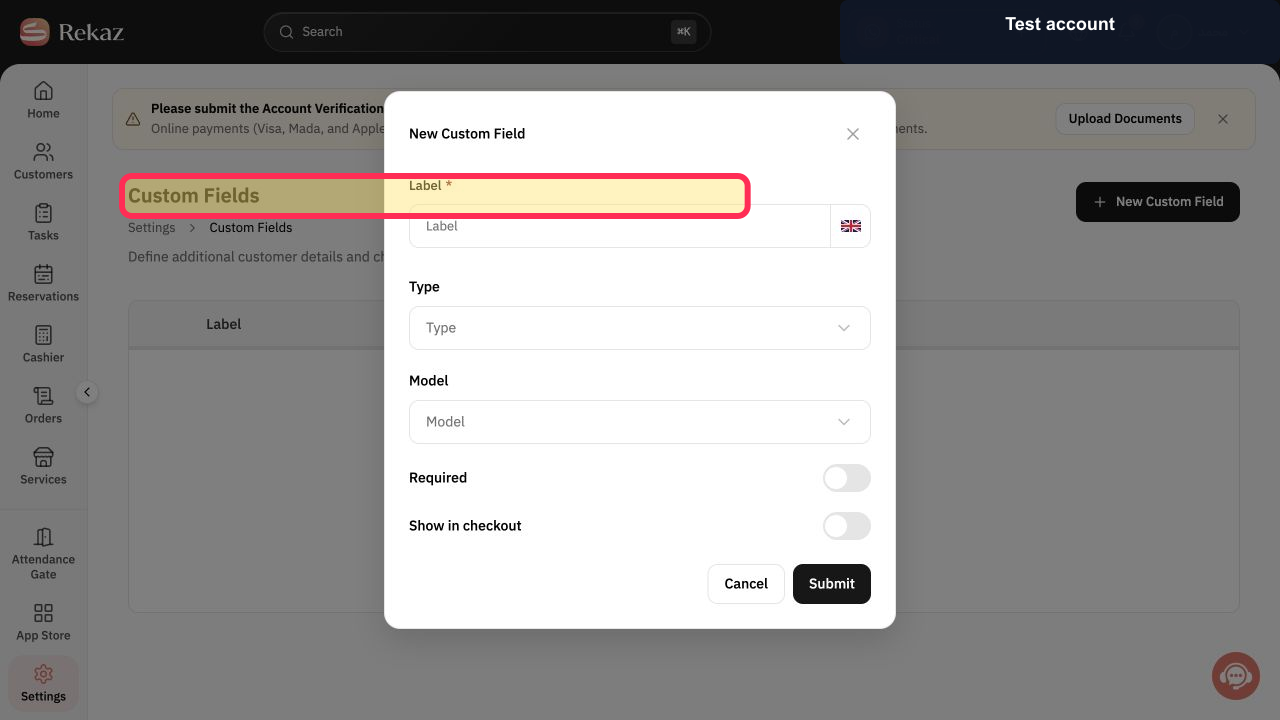
Select Custom Fields.
The Custom Fields page opens.
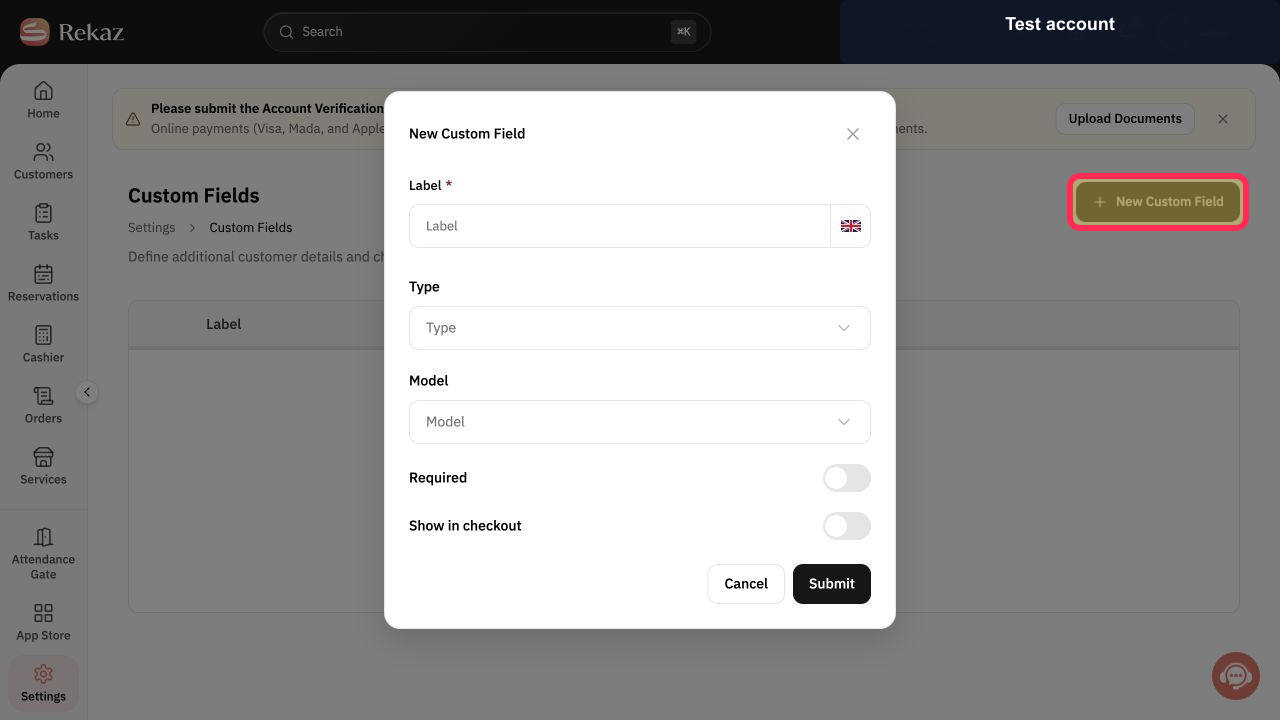
Select New Custom Field.
The New Custom Field dialog opens.
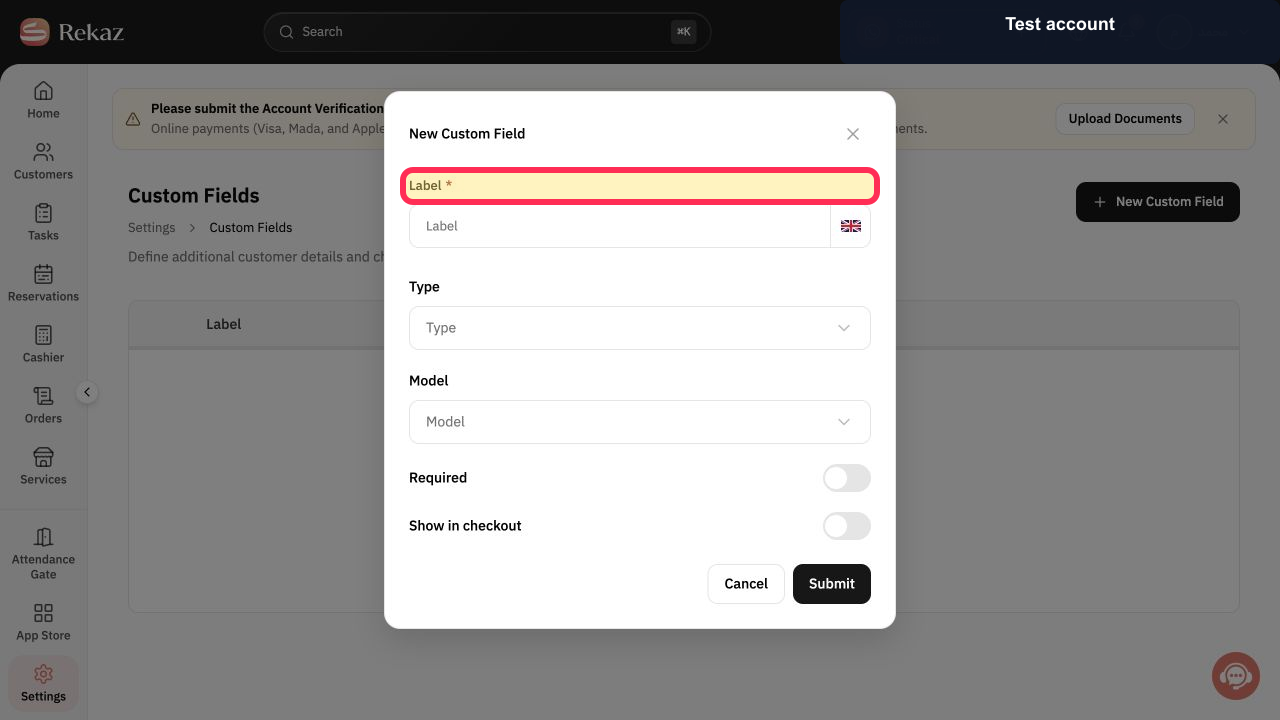
Enter the customer-facing field name under Label*.
The custom field label is entered.
Select Type and choose the input type that matches the information you need.
The custom field type is selected.
Select Model and choose the customer-related model required by the workflow.
The custom field model is selected.
Enable Required only when customers must provide the information.
The field's required status is configured.
Enable Show in checkout only when the field should appear during checkout.
The checkout-visibility setting is configured.
Review the configuration and select Submit.
The custom field is submitted for creation.
Illustrated guide
Step 1: Open Rekaz Settings.
Step 2: Open Custom Fields.
Step 3: Start a new custom field.
Step 4: Enter the custom field label.
Step 5: Choose the custom field type.
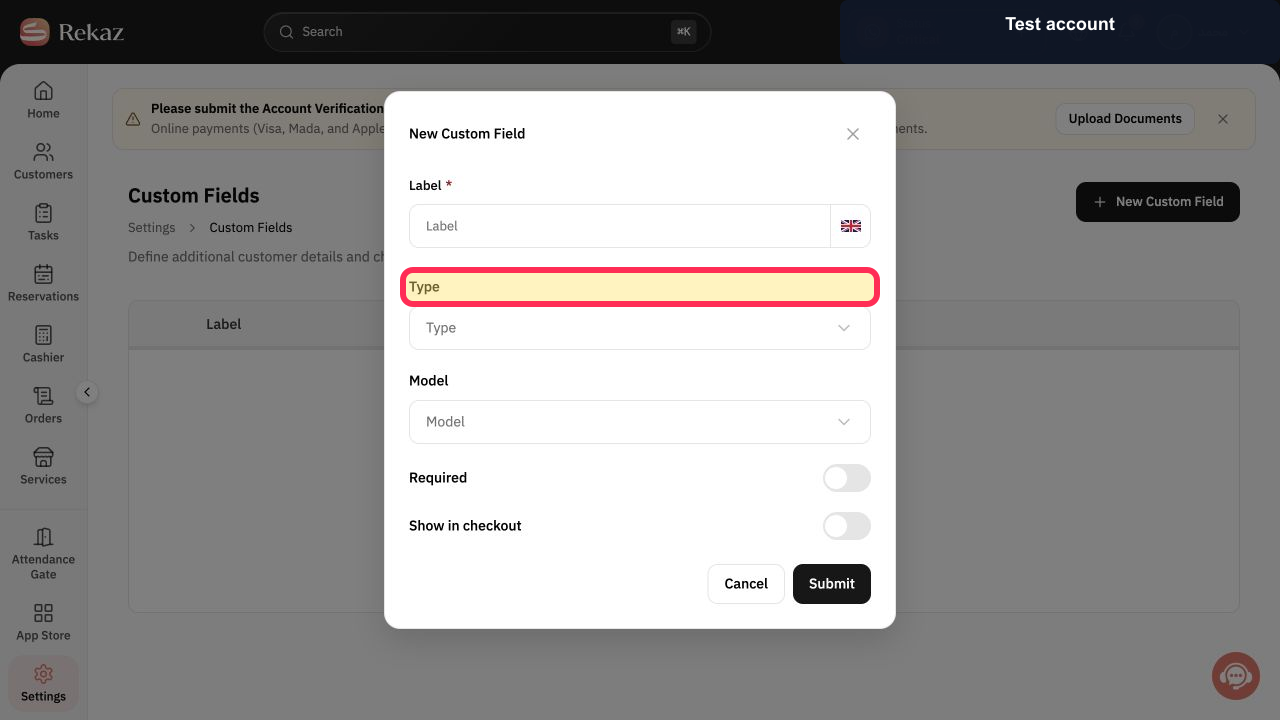
Step 6: Choose the custom field model.
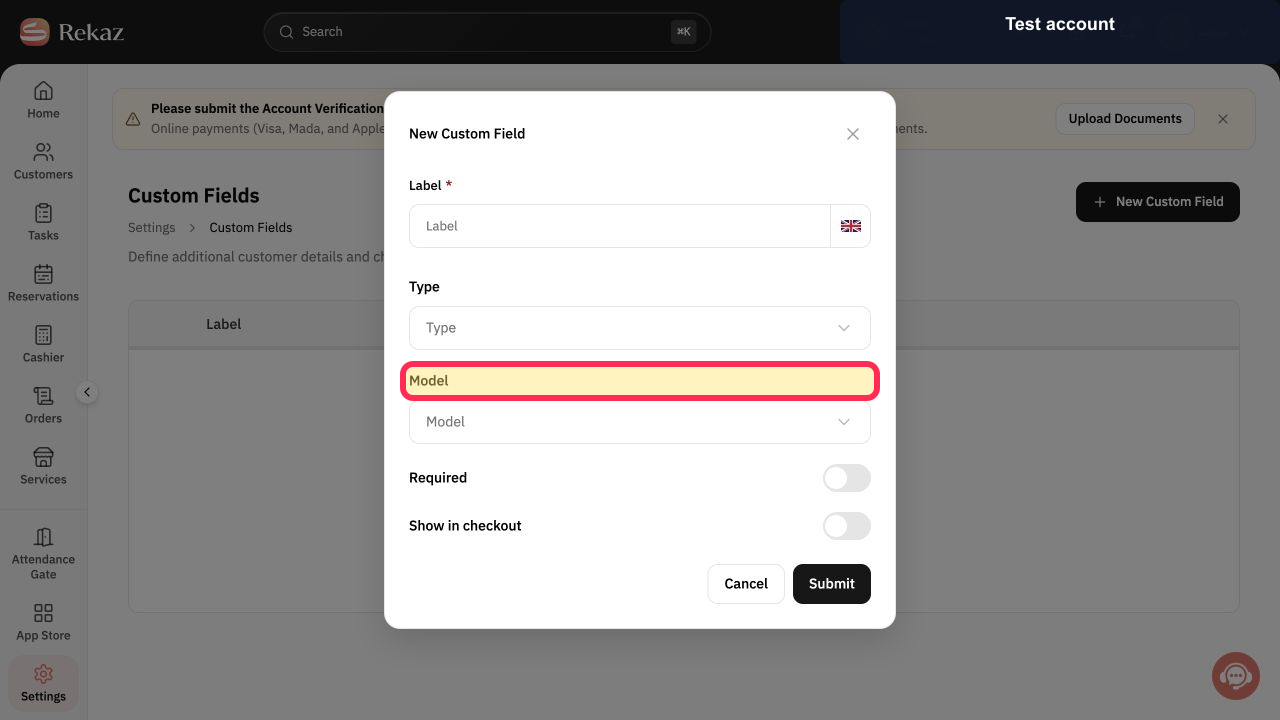
Step 7: Set whether the custom field is required.
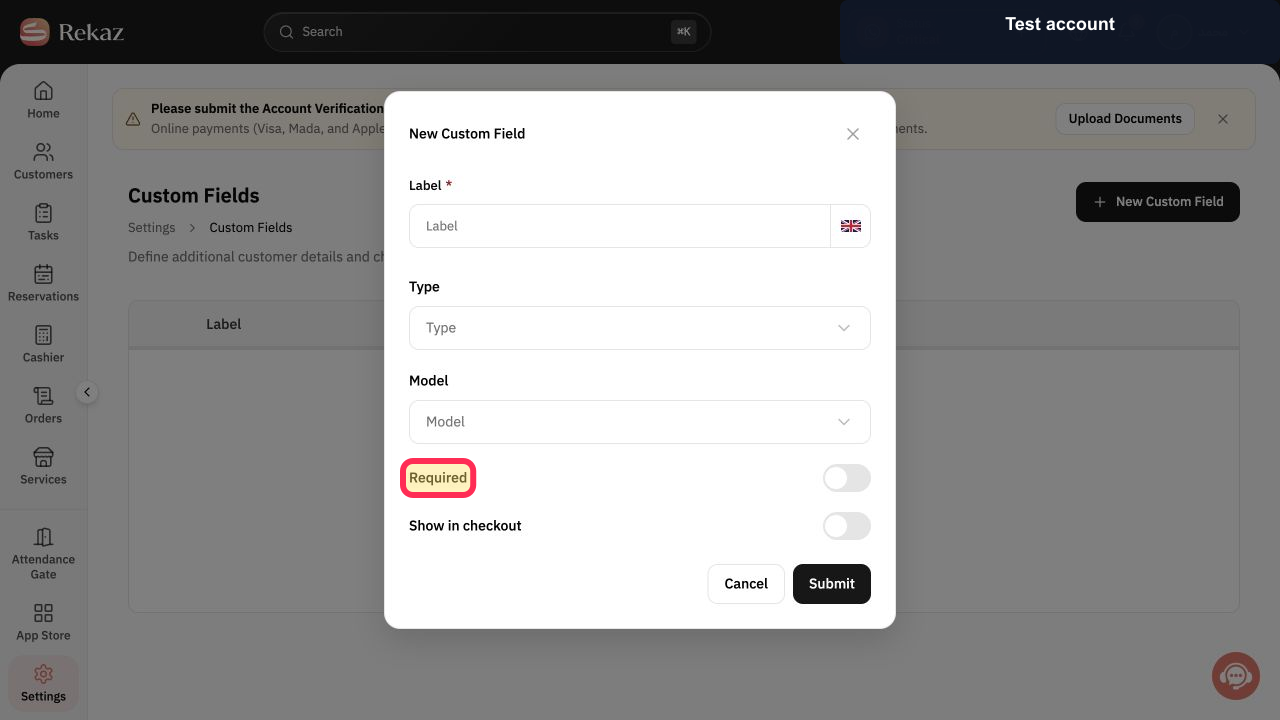
Step 8: Set whether the custom field appears in checkout.
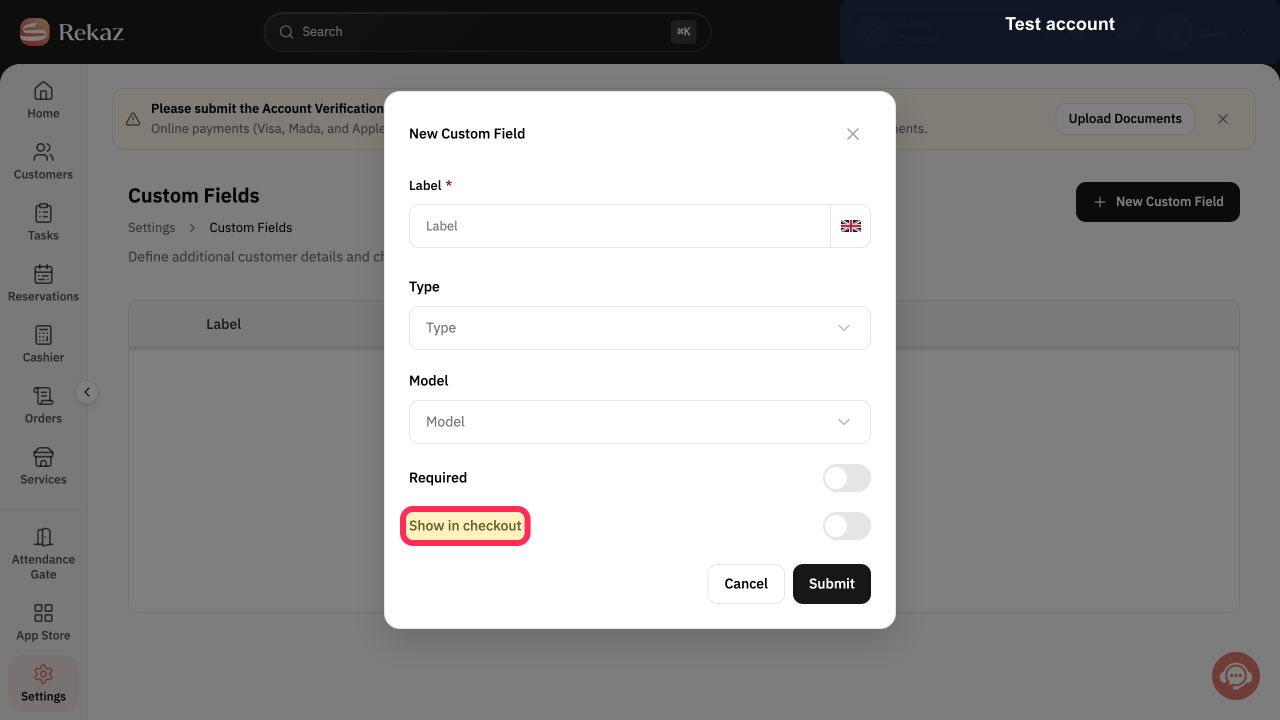
Step 9: Submit the new custom field.
Before you save
Use a clear label so your team and customers understand what information is needed. Examples include age, gender, birth date, or vehicle details.
Enable Required only when the information must be collected. Enable the Website option only when you want customers to see the field while logging in to your website.
Related questions
How do I make a customer custom field required in Rekaz?
How do I show a customer custom field on my Rekaz website?
How do I collect vehicle details from customers in Rekaz?


