Why isn’t my domain connecting to my Rekaz website?
A custom domain may fail to connect because the account is not on a paid plan, the nameservers were entered incorrectly at the registrar, or DNS propagation is still in progress.
The current Rekaz workflow uses nameservers for Link Existing Domain. Do not troubleshoot it as a CNAME workflow unless the live setup screen explicitly gives you a CNAME record.
Steps
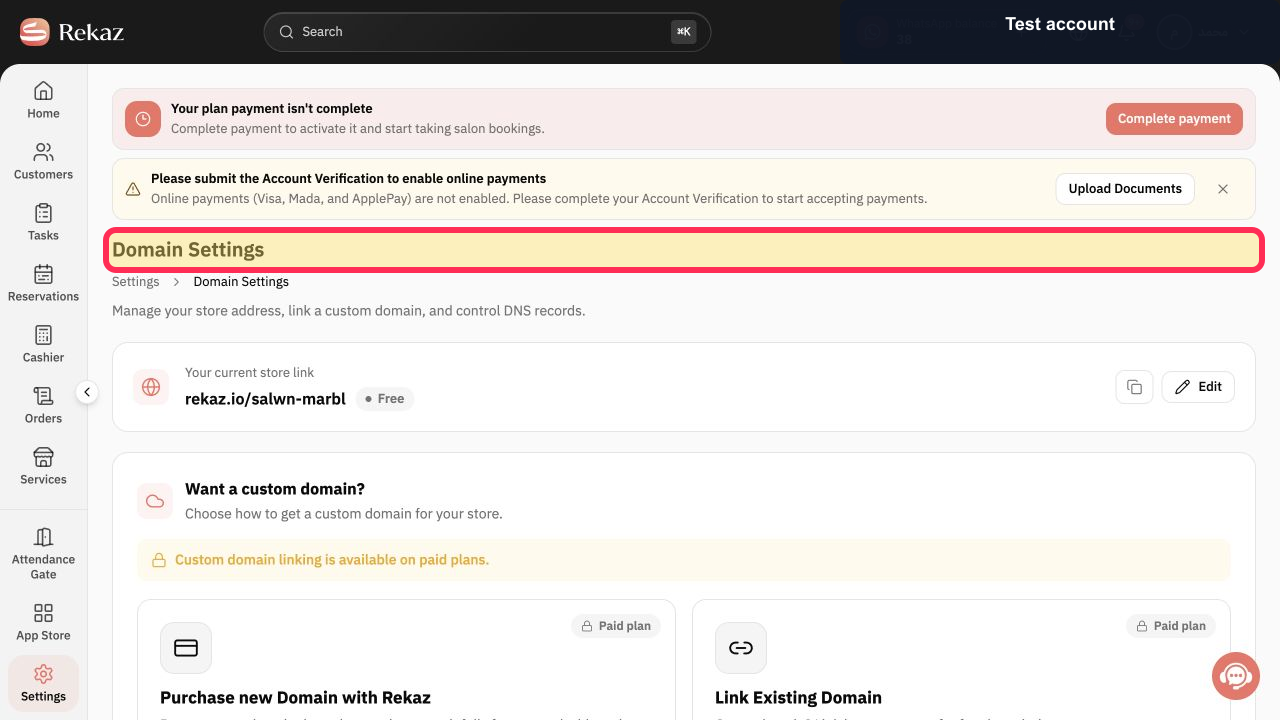
Select Settings, then open Domain Settings.
The current store link and domain options are visible.
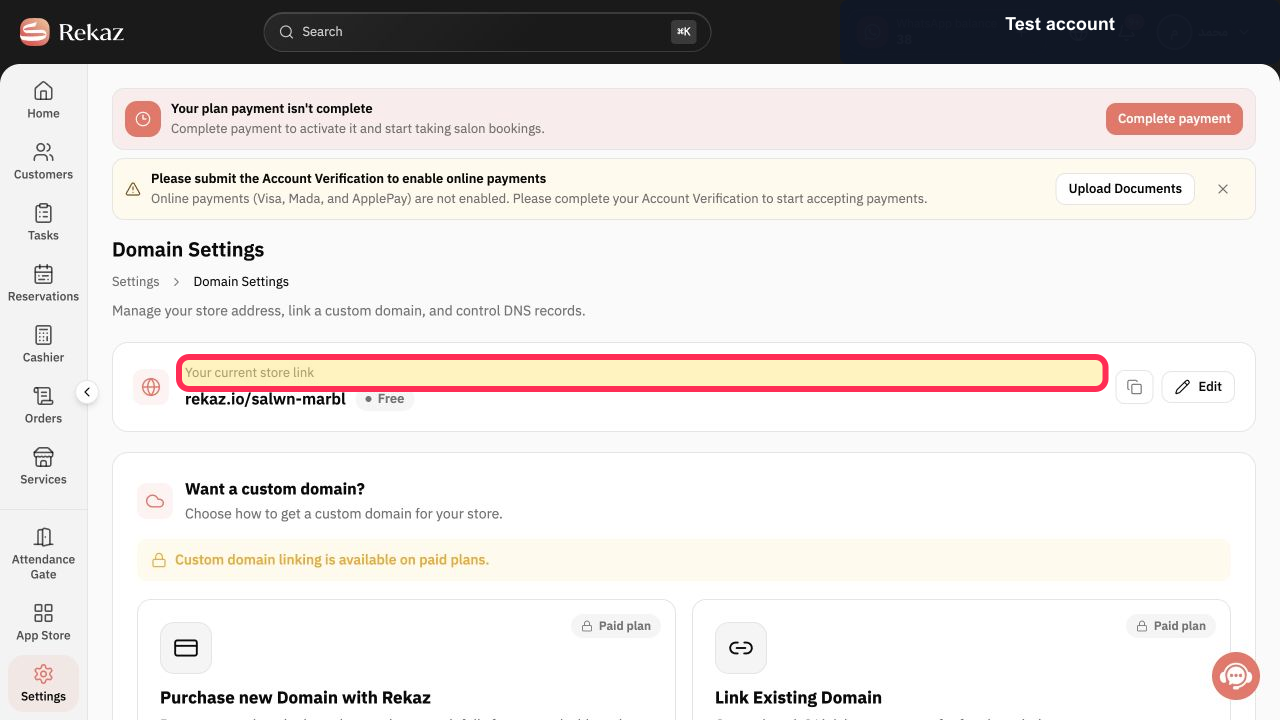
Confirm that Your current store link still opens. This separates a custom-domain problem from a website availability problem.
The underlying Rekaz website is verified.
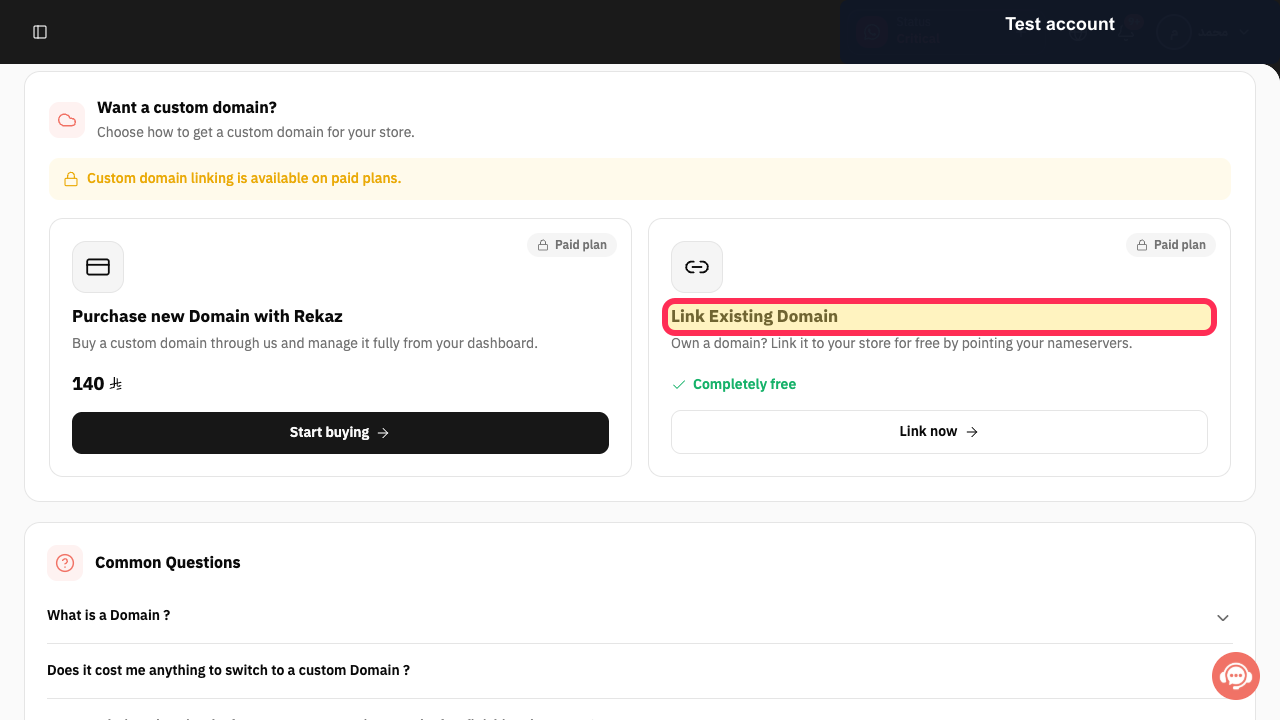
Select Link Existing Domain.
The domain-linking availability check runs.
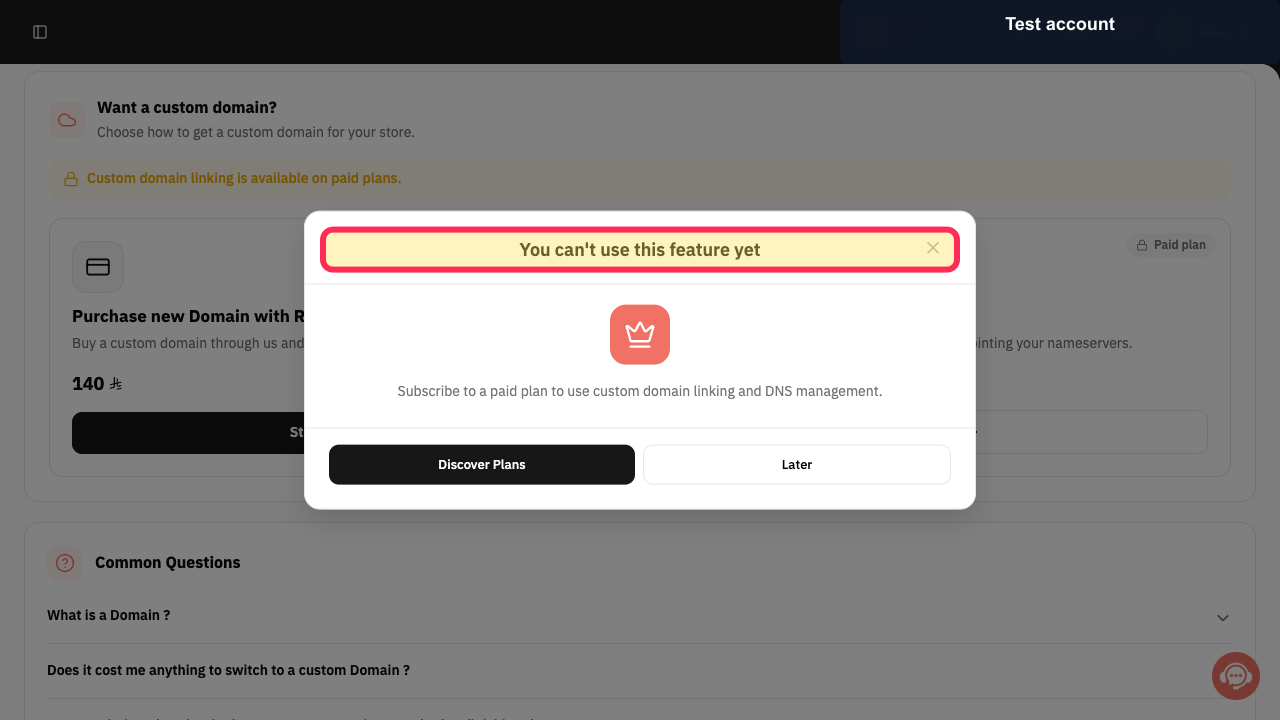
If You can't use this feature yet appears, activate a paid plan before troubleshooting DNS further.
The plan requirement is identified as the blocker.
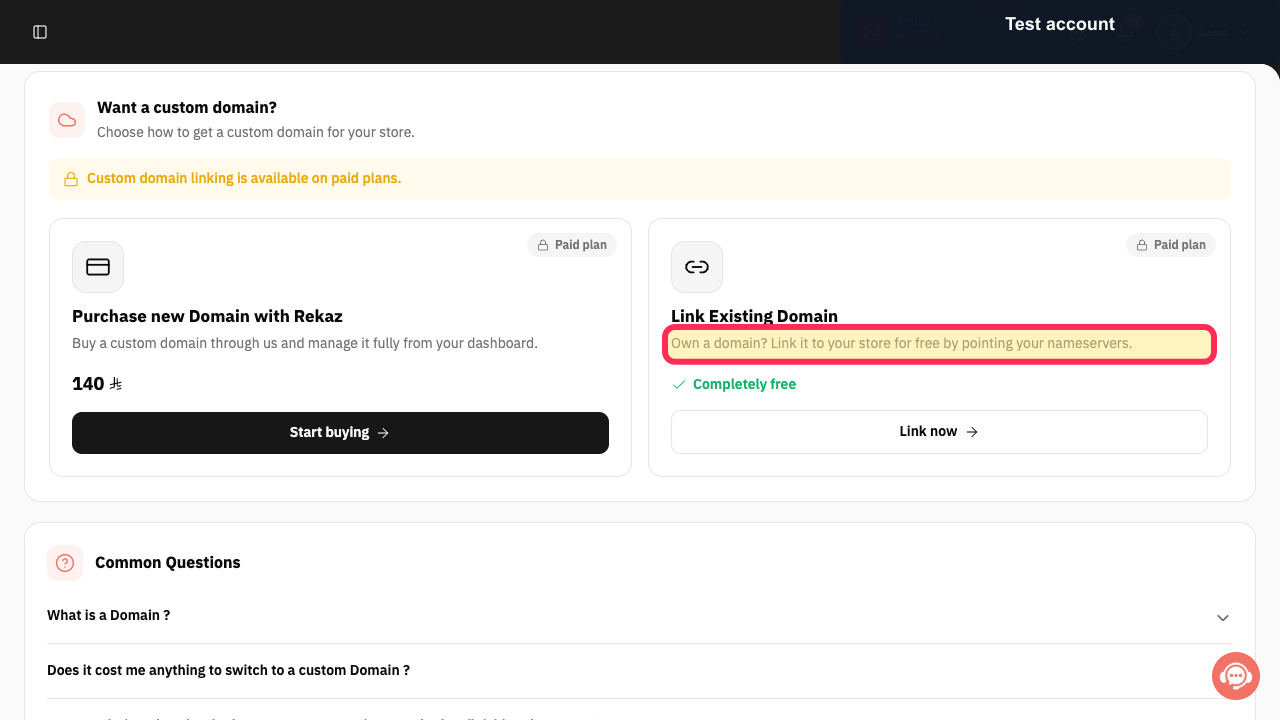
Review the Link Existing Domain card: Rekaz states that an existing domain connects by pointing its nameservers. After the paid-plan gate is cleared, use only the exact nameserver values shown in your live setup at the registrar and remove conflicting old nameservers.
The registrar change is based on the live Rekaz nameserver instructions, not on guessed DNS values.
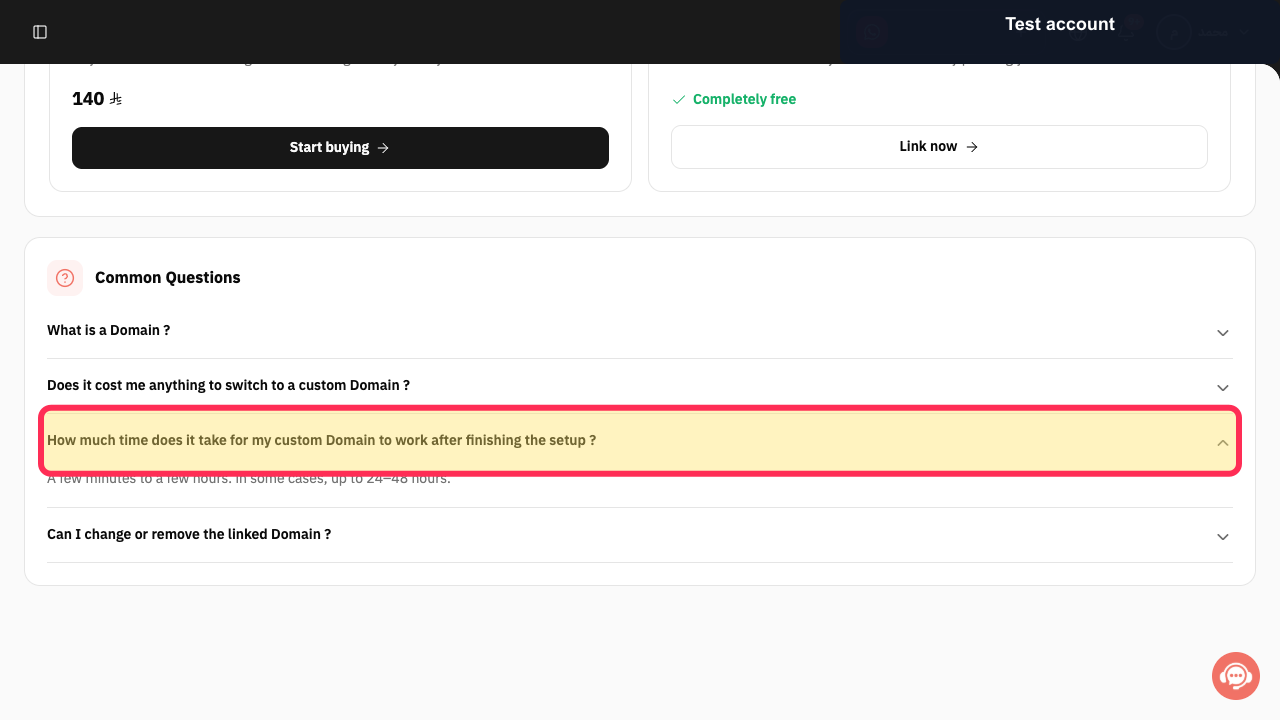
Allow DNS to propagate. Rekaz states that it usually takes a few minutes to a few hours, and sometimes up to 24–48 hours.
The domain is not treated as failed before the propagation window ends.
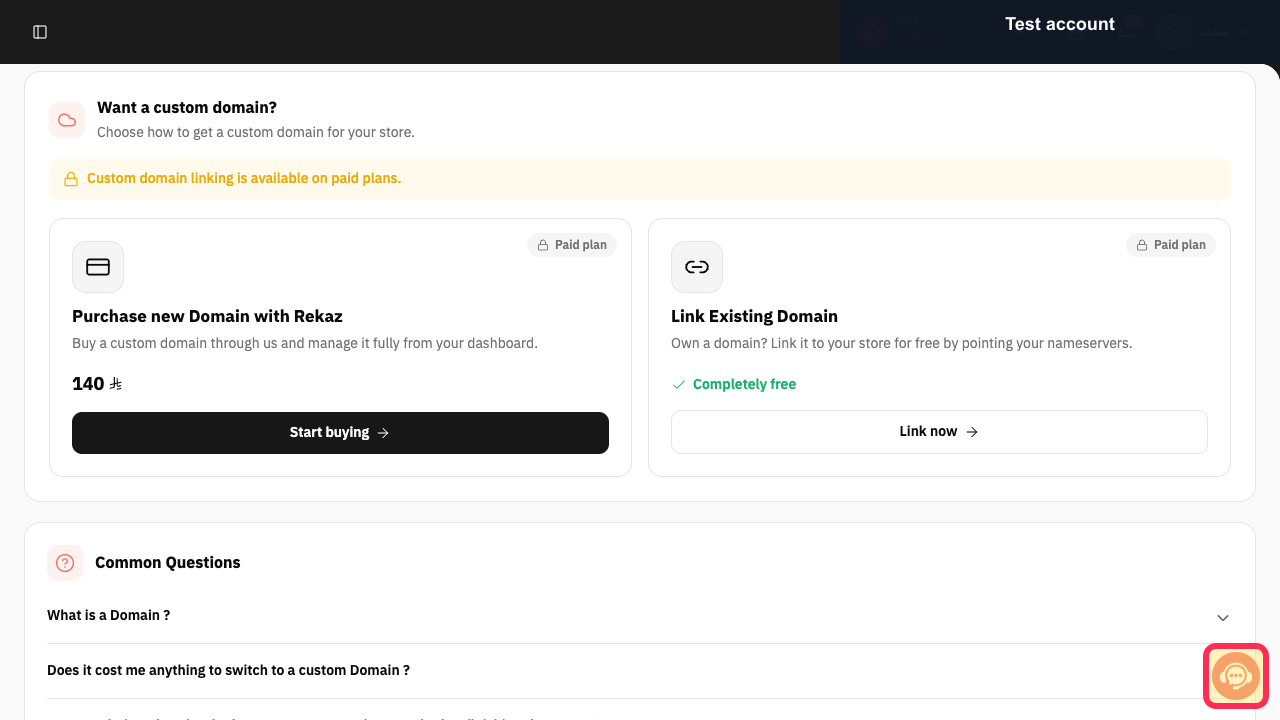
Return to Domain Settings and test again. If it still fails after the full window, use Contact support with the domain name and registrar details, but never share registrar passwords.
The remaining issue is escalated without exposing credentials.
Illustrated guide
Step 1: Open Rekaz Domain Settings.
Step 2: Verify the free Rekaz store link.
Step 3: Open Link Existing Domain.
Step 4: Check whether a paid plan is required.
Step 5: Confirm that Rekaz links an existing domain by pointing its nameservers.
Step 6: Review the DNS propagation window.
Step 7: Recheck Domain Settings or contact support safely.
Important notes
This flow matches the documented process for linking an existing domain to a Rekaz website.
If the Rekaz interface changes, confirm the visible button name before completing the final action.
Related questions
How do I link an existing domain to my Rekaz website?
Where can I find Domain Management in Rekaz?
What should I do after Rekaz shows my Nameserver values?
How do I check my domain connection in Rekaz?


