How do I set cashier permissions in Rekaz?
Rekaz does not provide one fixed Cashier role. Create a role that matches your cashier's actual duties and assign it to the appropriate employees.
View Invoices and Pay Invoices are separate permissions. Review Manage Invoices, refunds, exports, and discounts independently before granting them.
Steps
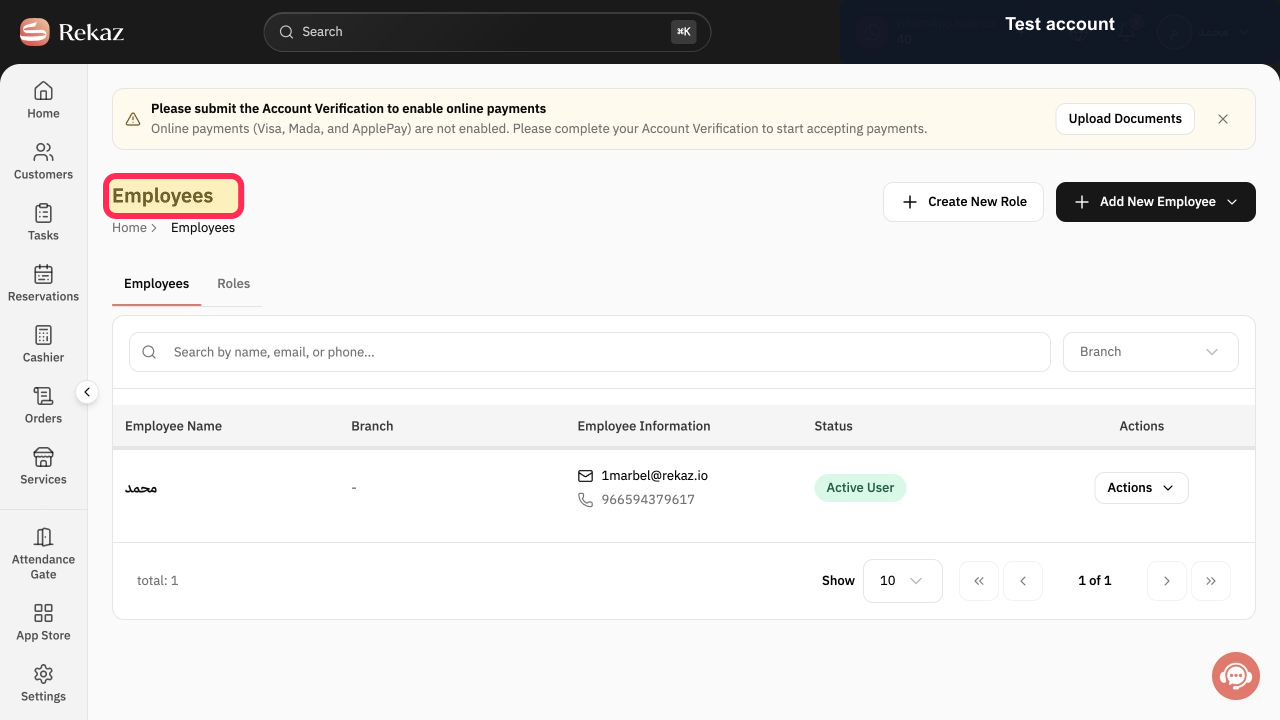
Open Employees in Rekaz.
The Employees page opens.
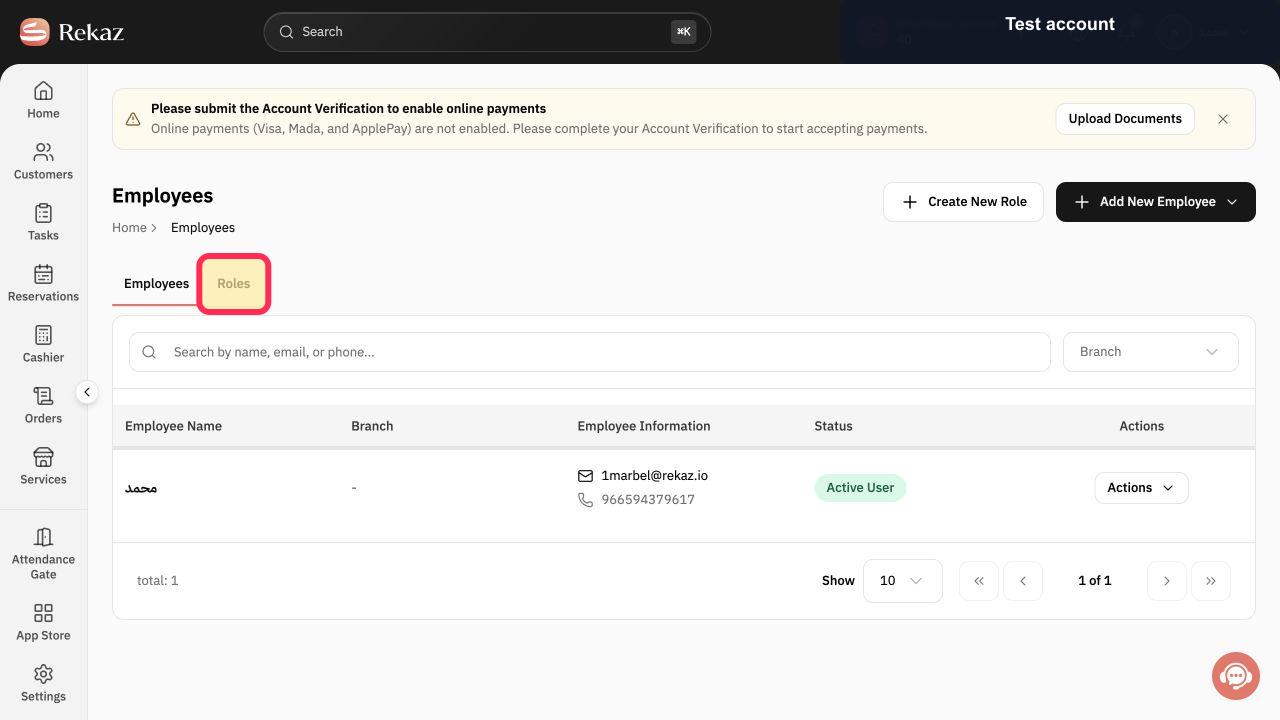
Select the Roles tab.
The existing employee roles are displayed.
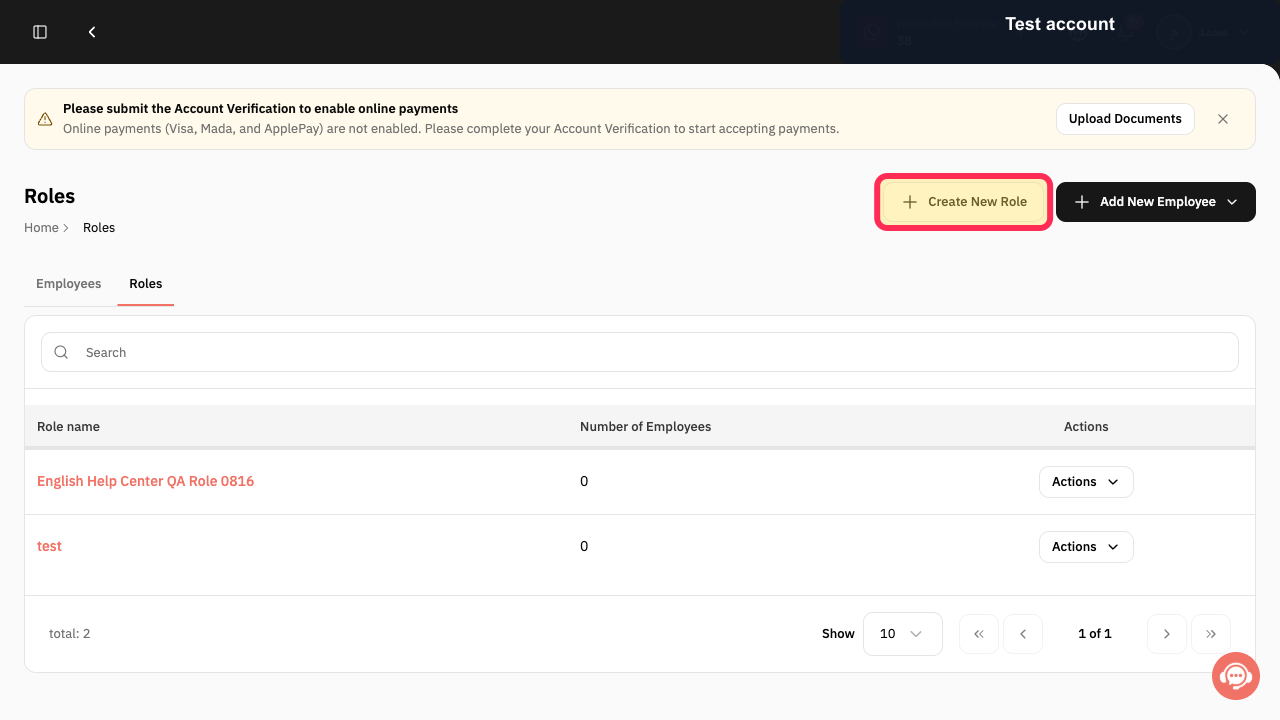
Select Create New Role.
The Create New Role form opens.
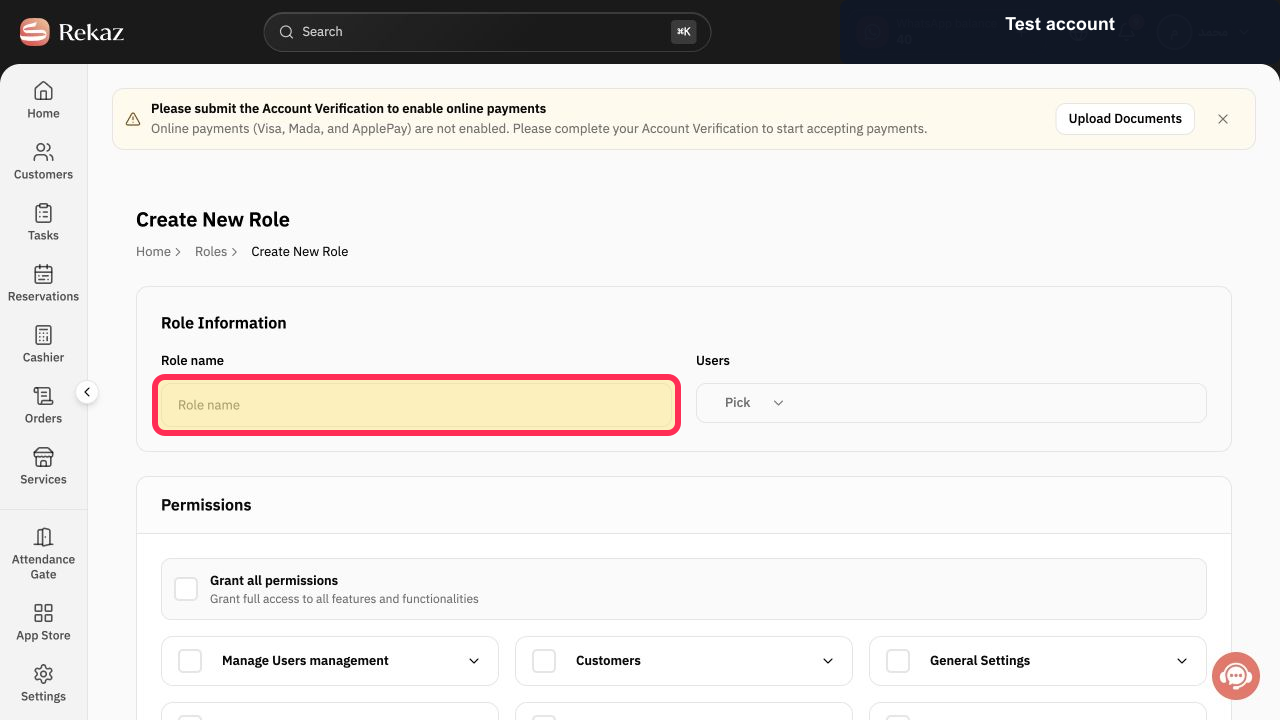
Enter a clear cashier title in Role name.
The role is identified as a cashier role.
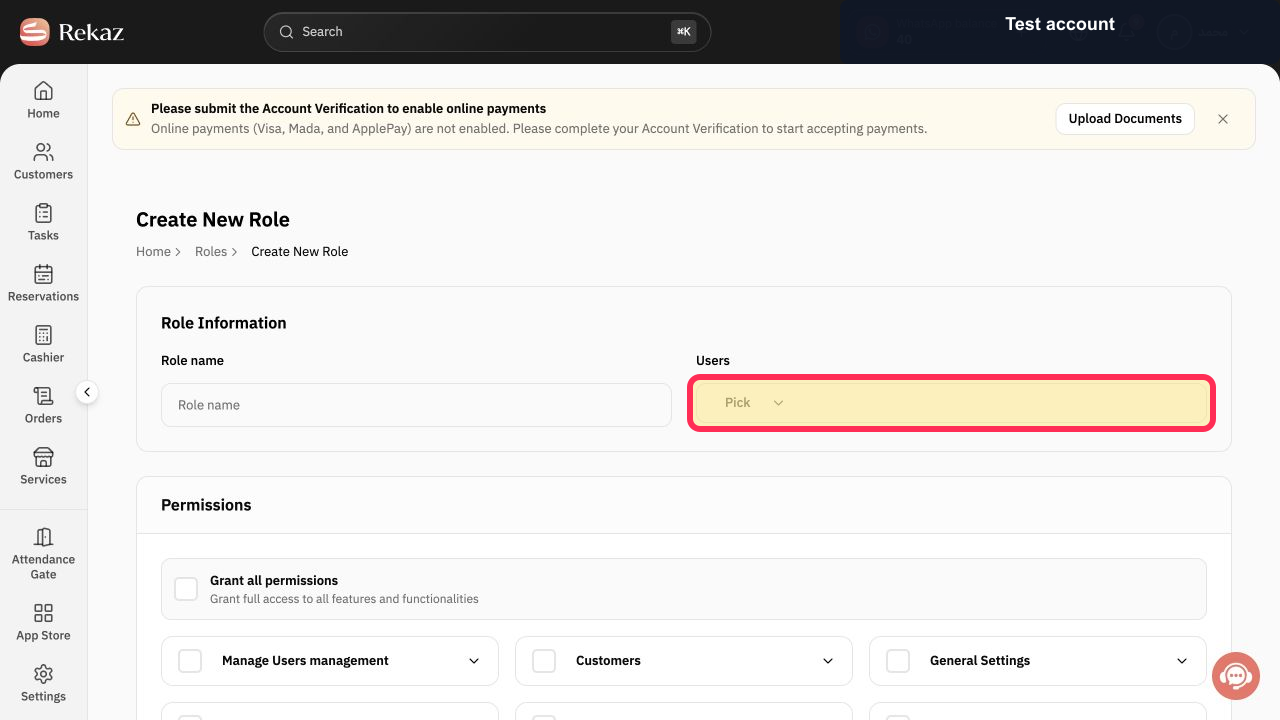
Under Users, select Pick and choose the cashier employees.
The selected cashier users are attached to the role.
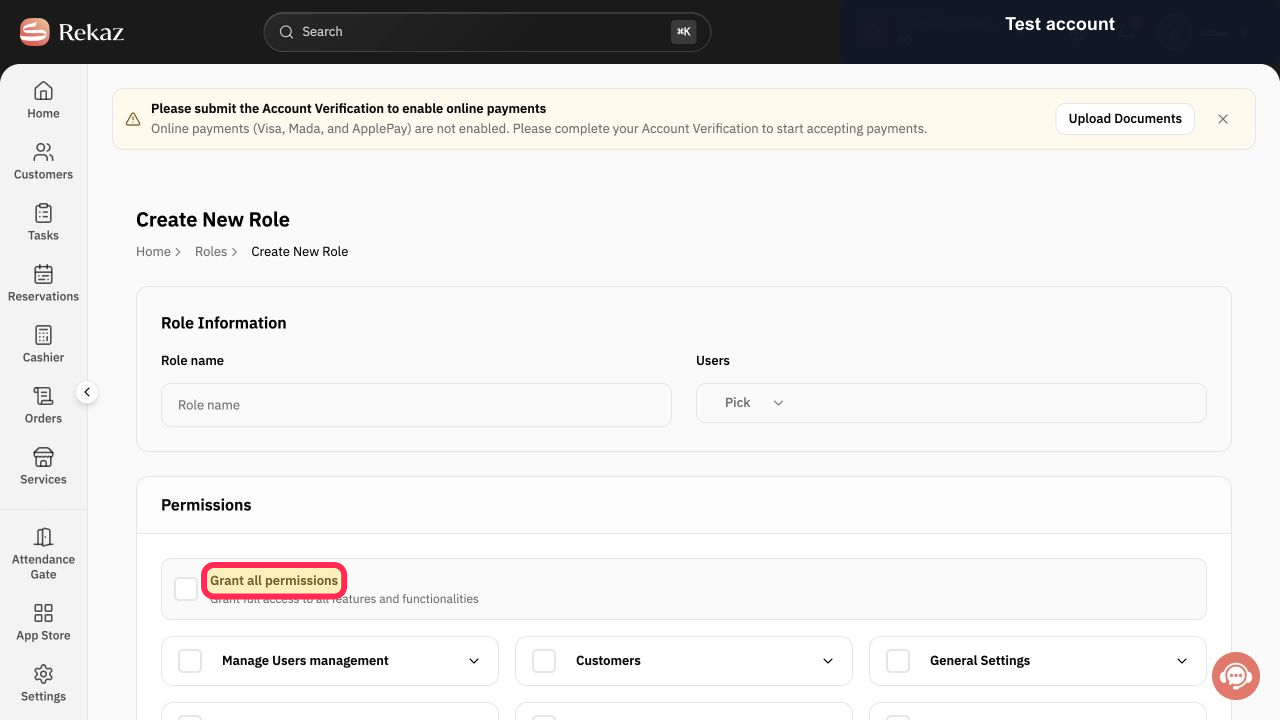
Keep Grant all permissions off unless the cashier truly needs unrestricted access.
The cashier role can use a limited permission set.
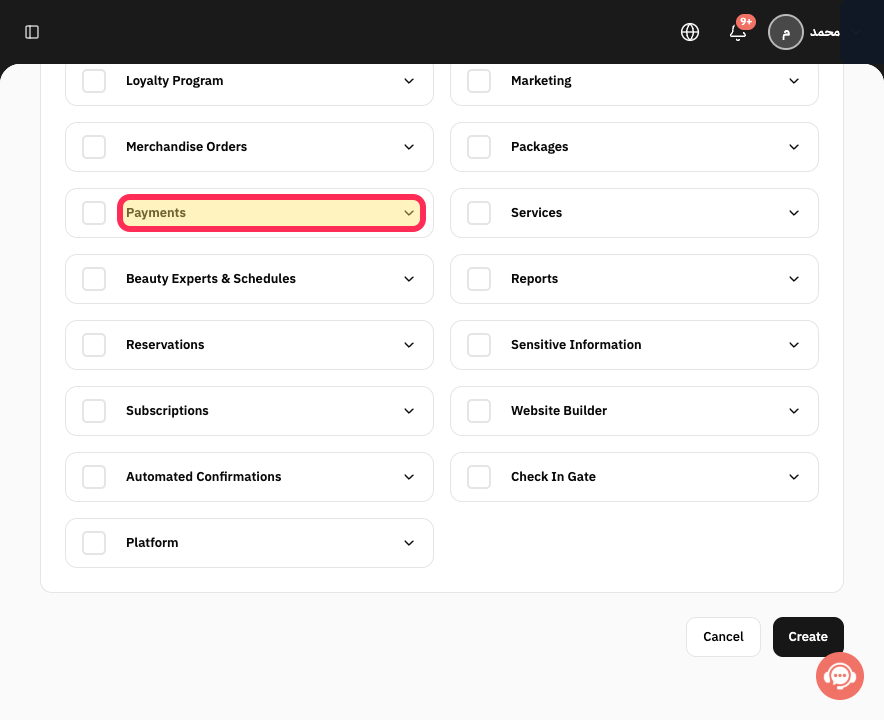
Open the Payments permission group.
Invoice and payment actions are displayed.
Enable View Invoices when the cashier needs to review invoices.
The cashier can view invoices when the role is saved.
Enable Pay Invoices only when recording invoice payments is part of the cashier's work.
The cashier can pay invoices when the role is saved.
Review Manage Invoices, Export Invoices, Apply Discounts, and Refund Invoices separately; enable only approved duties.
Sensitive cashier actions remain restricted unless intentionally selected.
Select Create.
The cashier role is submitted and the Roles list opens.
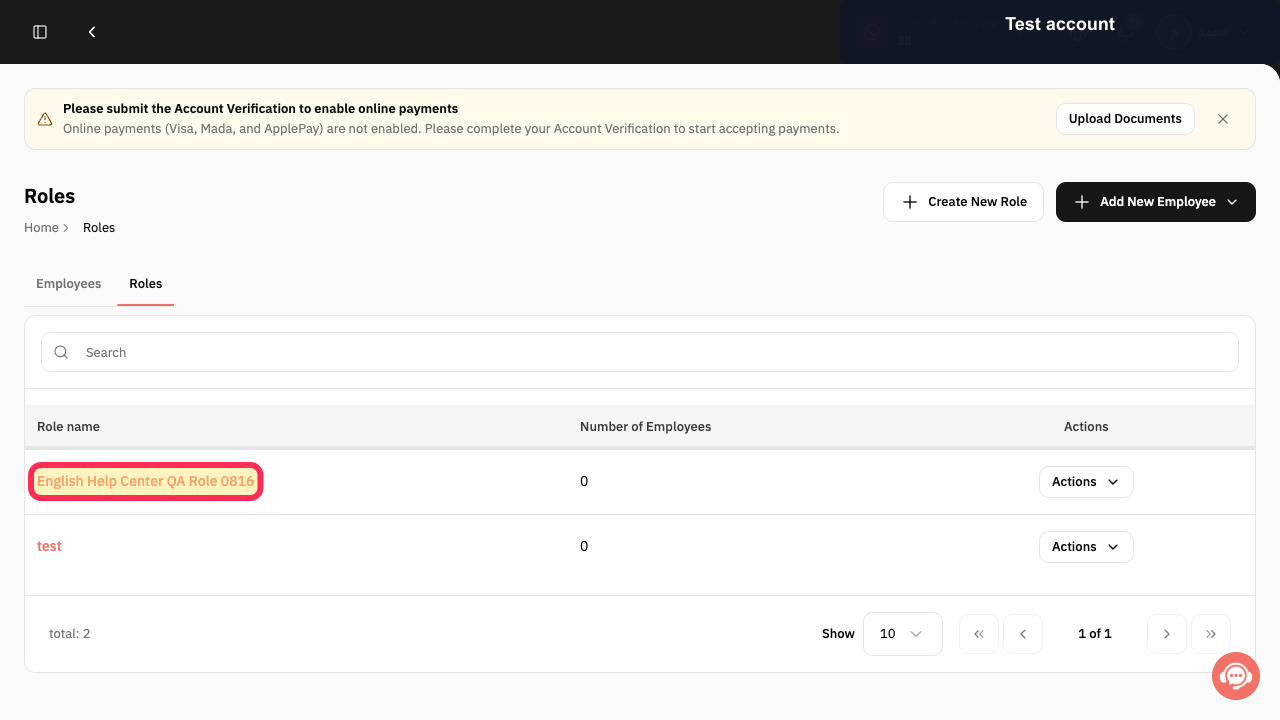
Confirm that the cashier role appears in the Roles list and review its Number of Employees. The verified example uses English Help Center QA Role 0816.
The created role is listed with its employee count.
Illustrated guide
Step 1: Open Employees in Rekaz.
Step 2: Open the employee Roles tab.
Step 3: Start creating a cashier role.
Step 4: Name the cashier role.
Step 5: Choose the cashier Users.
Step 6: Keep broad permission access disabled for the cashier role.
Step 7: Open the cashier Payments permissions.
Step 8: Enable View Invoices when required.
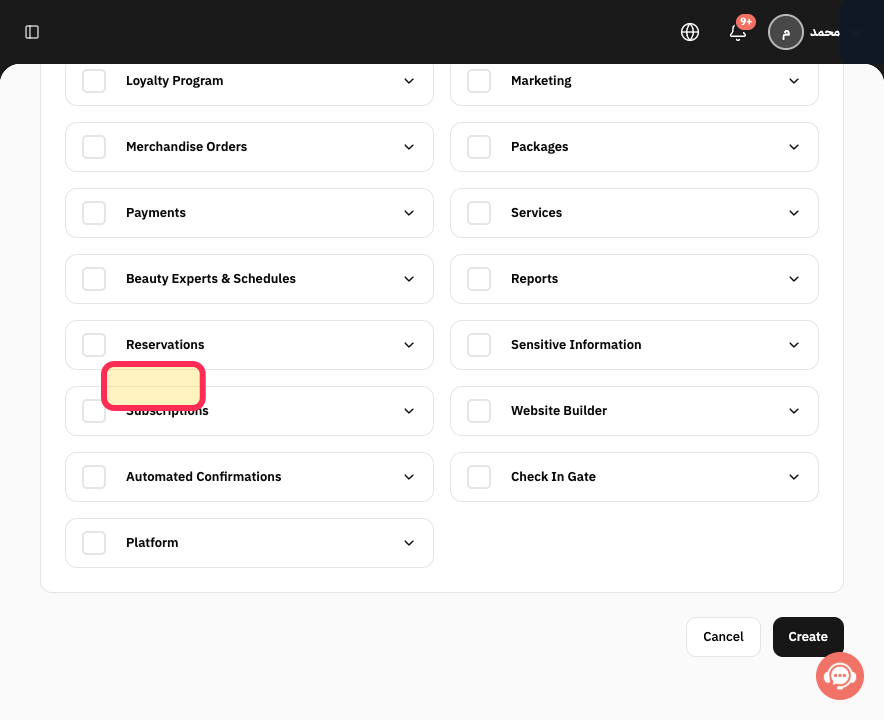
Step 9: Enable Pay Invoices when required.
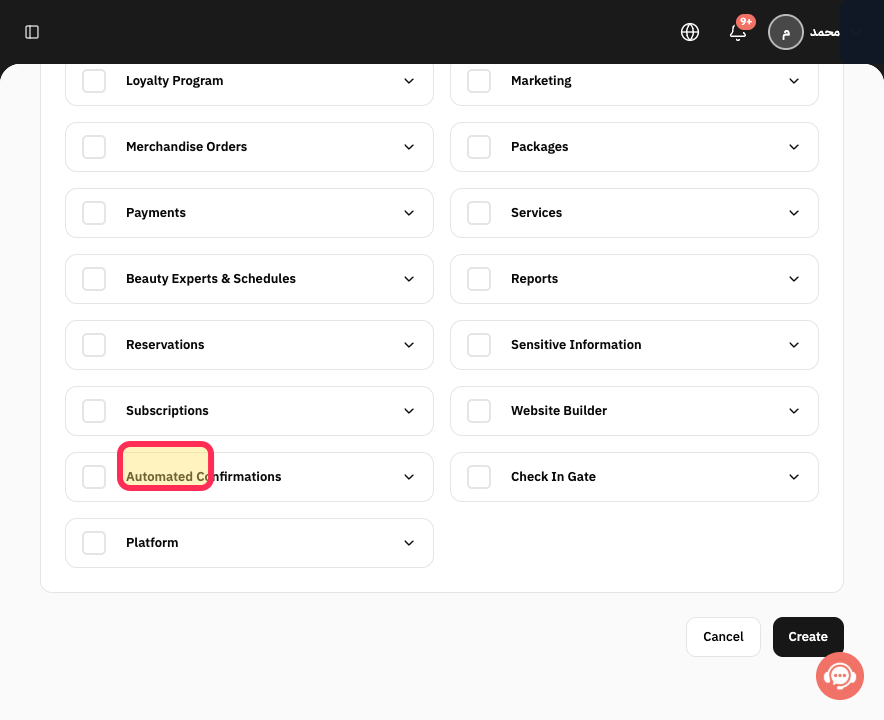
Step 10: Review the remaining Payments permissions.
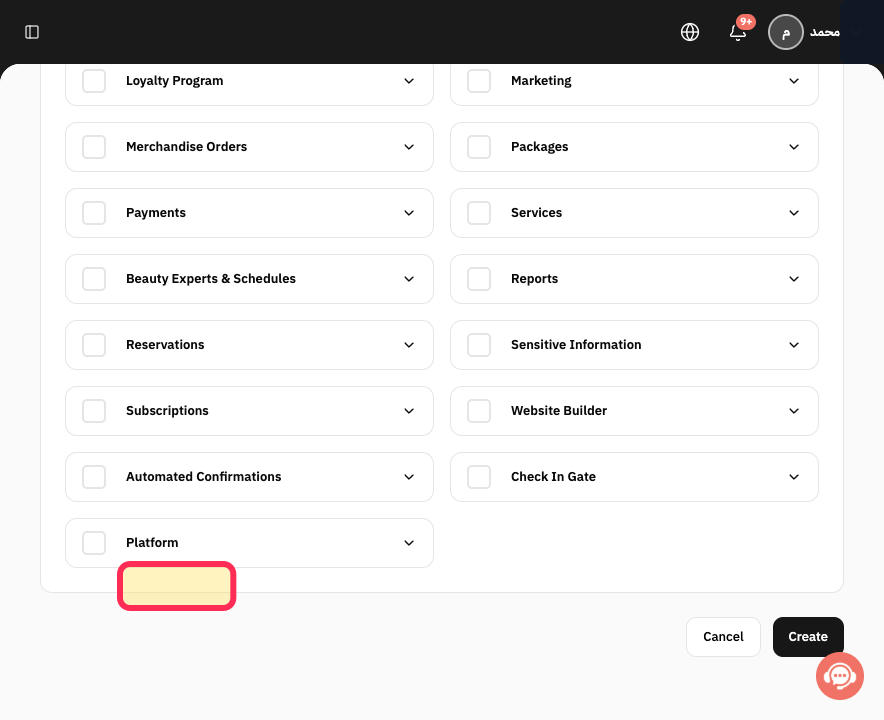
Step 11: Create the cashier role.
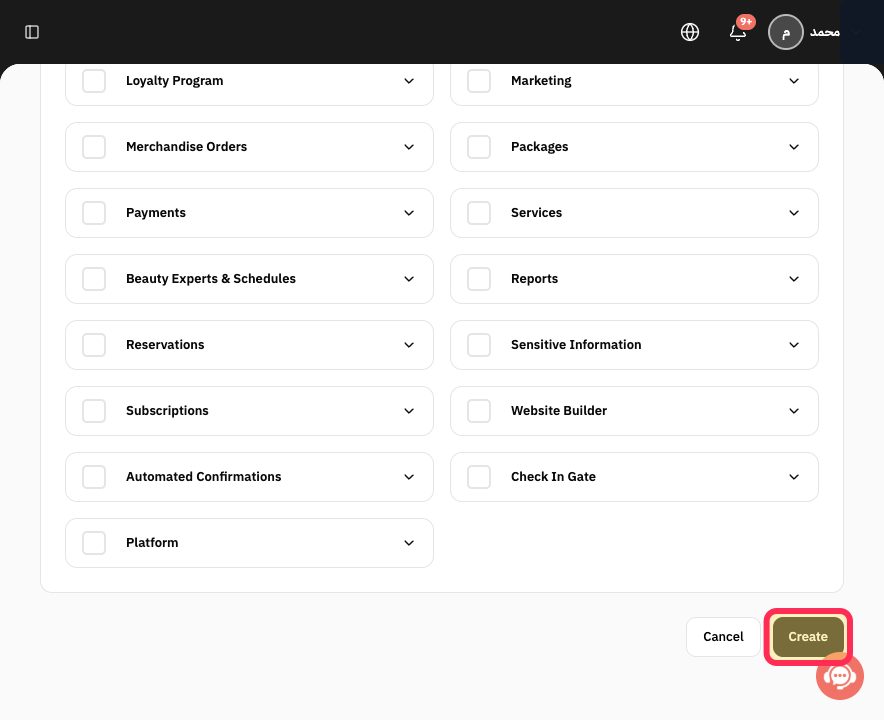
Step 12: Confirm the cashier role in the Roles list.
Important permission guidance
Use the least-privilege approach: grant only the access the cashier needs for their assigned work.
The verified example enabled only View Invoices and Pay Invoices. Your cashier role may need one of these permissions, both, or neither, depending on your business process.
Review Refund permissions separately before granting them.
Review Export permissions separately before granting them.
Review Discounts permissions separately before granting them.
Related questions
What permissions should a cashier have in Rekaz?
How can I restrict a cashier’s access in Rekaz?
How do I give an employee invoice-only access in Rekaz?


