How do I manage employee permissions in Rekaz?
Rekaz roles group permissions and assign them to selected employee accounts. A role can be reused for employees with the same responsibilities.
Start with the minimum access needed. Grant all permissions gives broad access and should only be used when the employee genuinely needs every current and future permission.
Steps
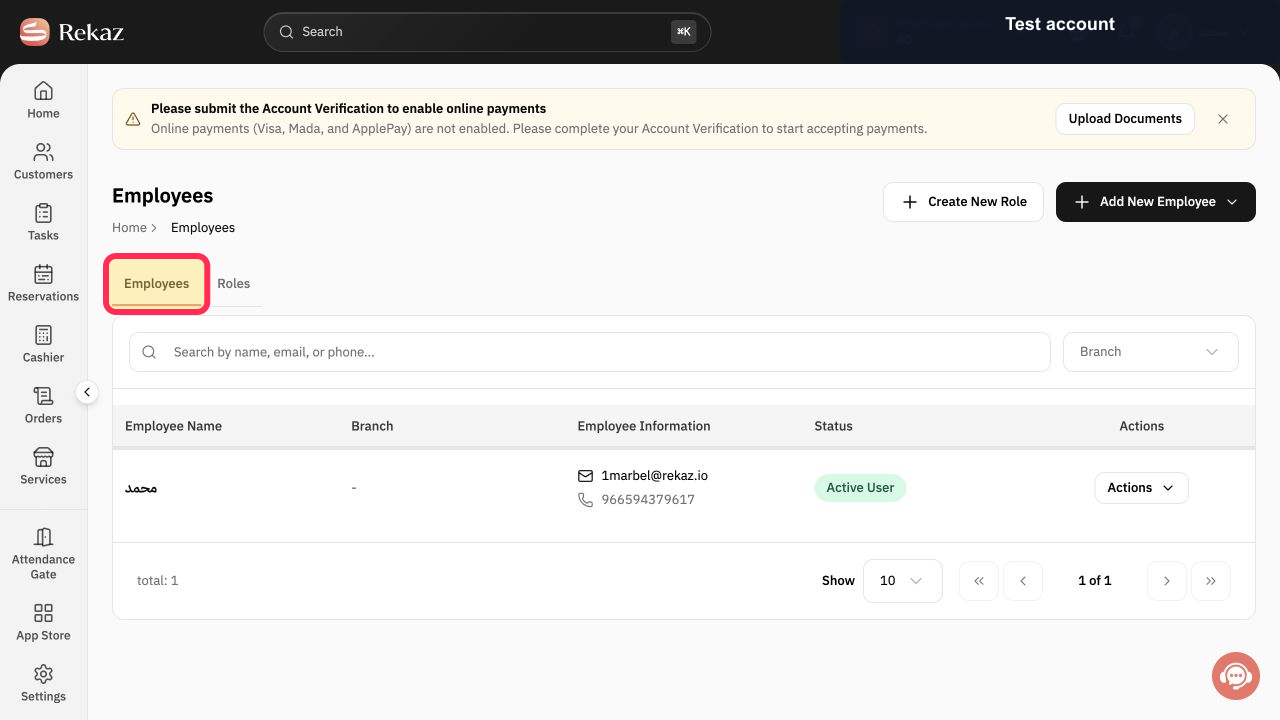
Open Employees in Rekaz.
The Employees page opens.
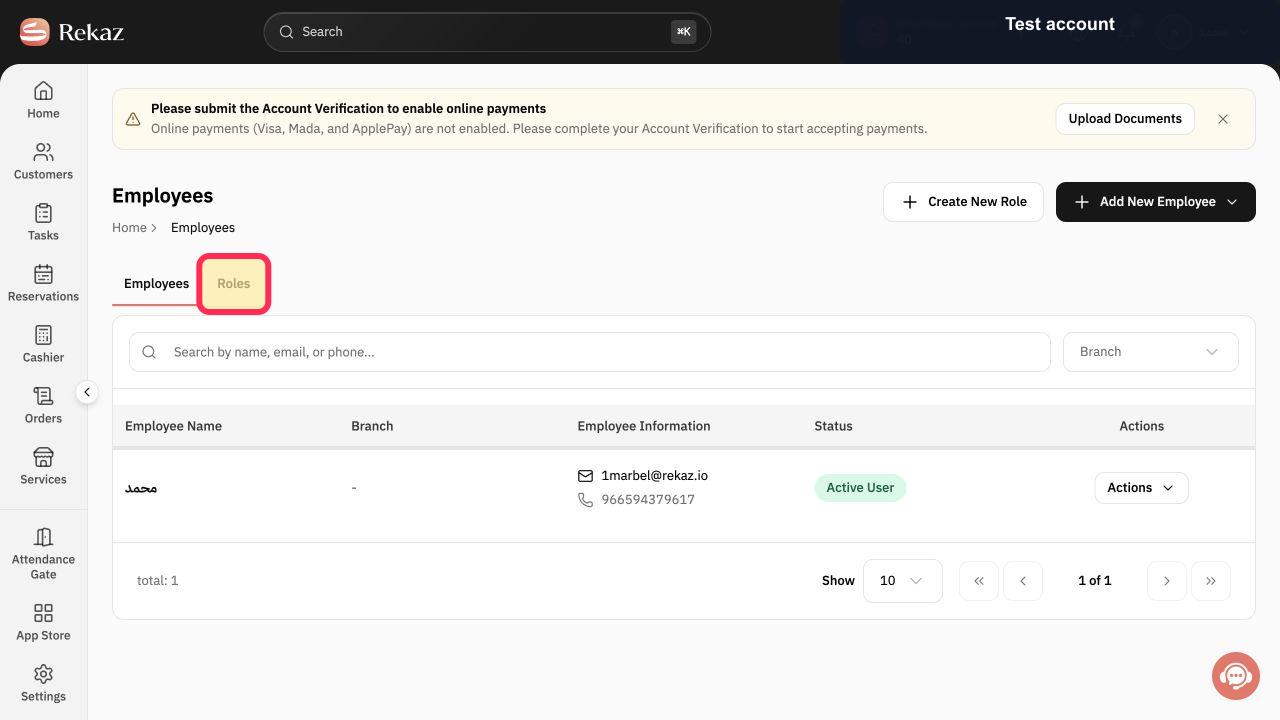
Select the Roles tab.
The saved employee roles are displayed.
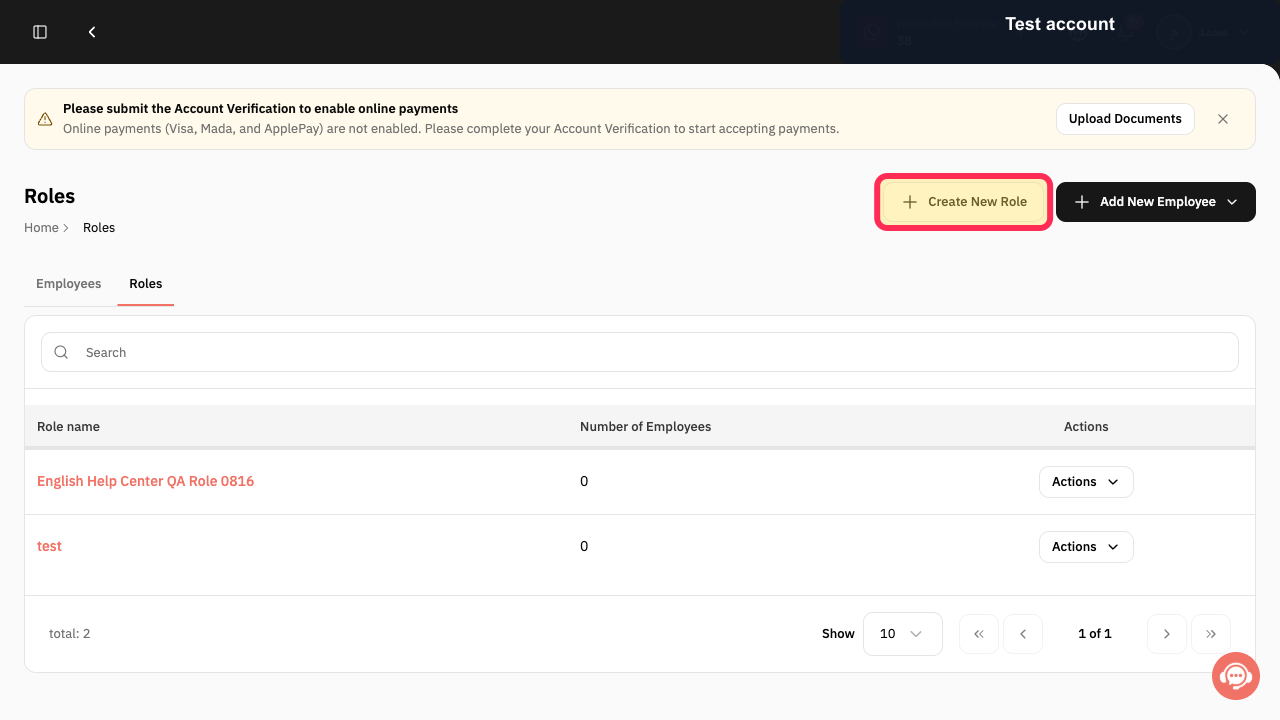
Select Create New Role.
The Create New Role form opens.
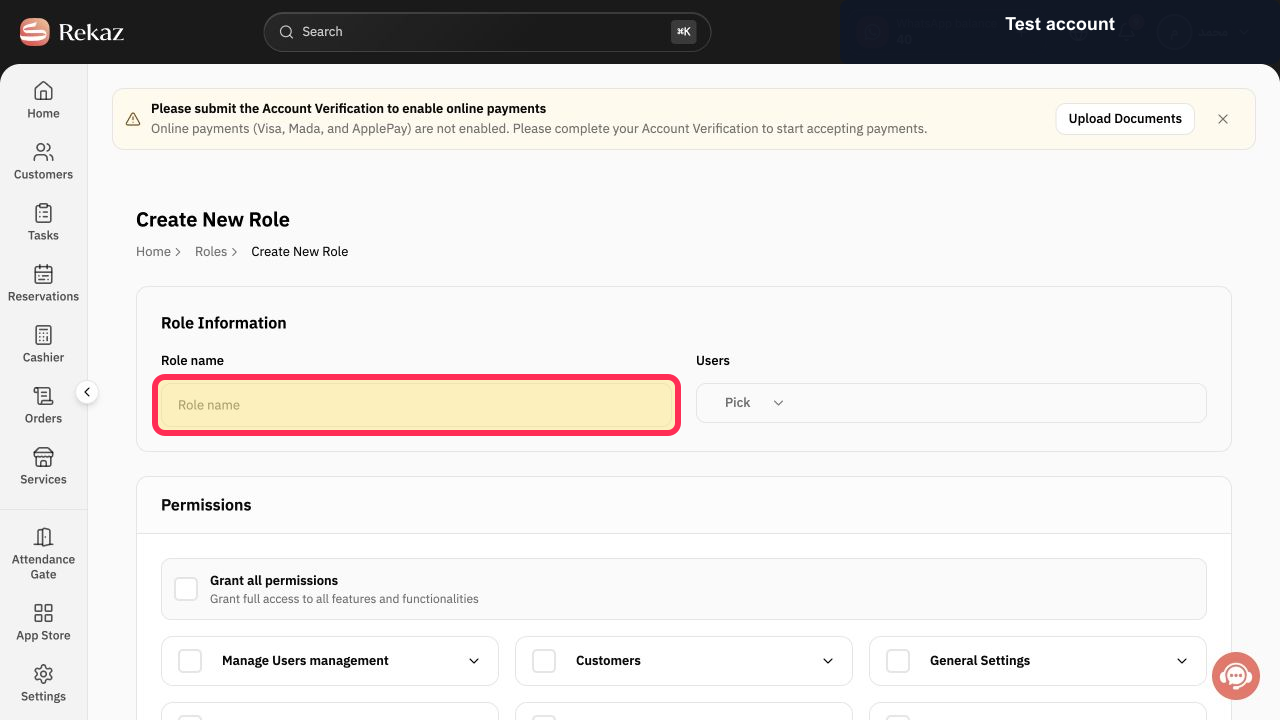
Enter a clear job-based name in Role name.
The role can be identified by its intended responsibility.
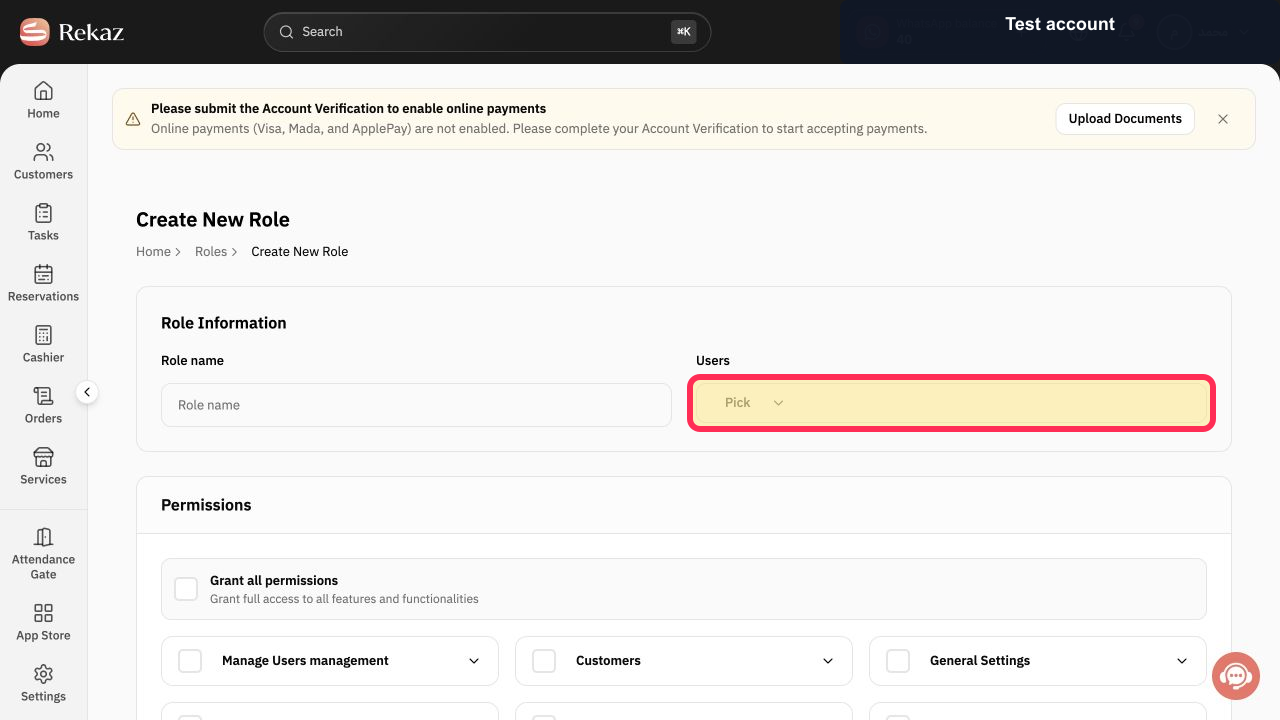
Under Users, select Pick and choose the employees who should receive the role.
The selected employees are assigned to the role form.
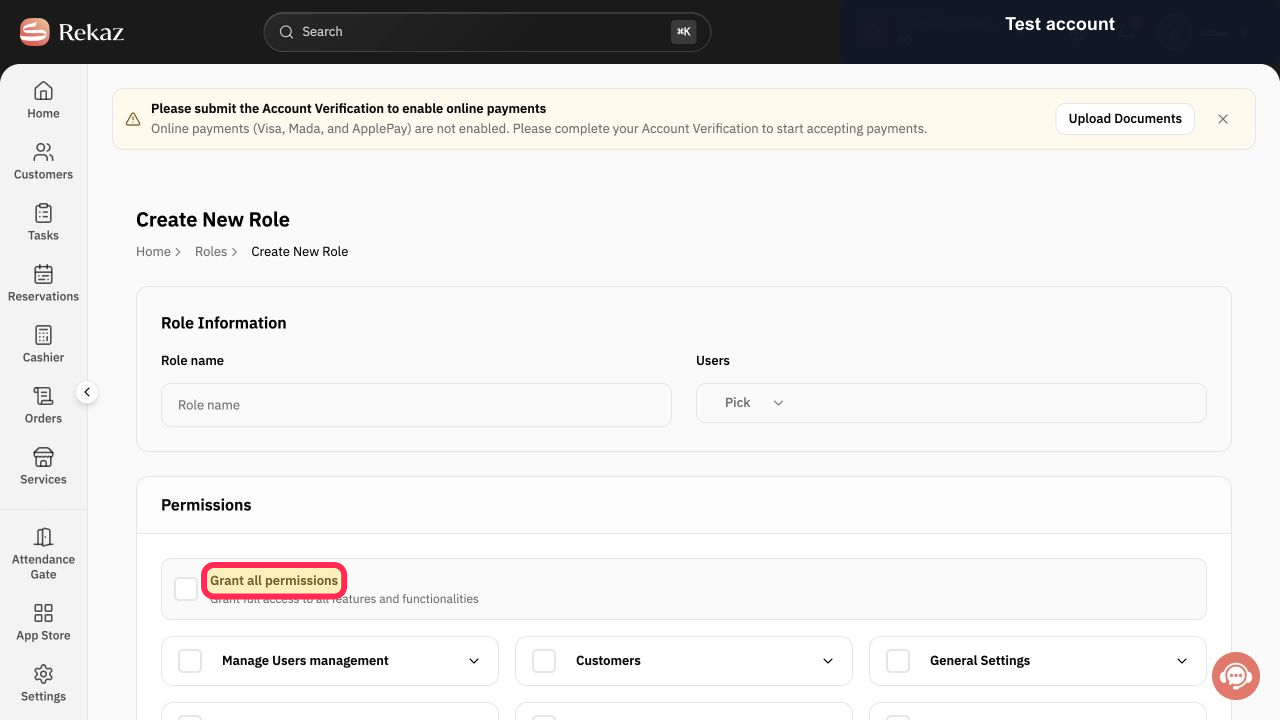
Review Grant all permissions. Leave it off when you want least-privilege access.
The role will use individually selected permissions instead of broad access.
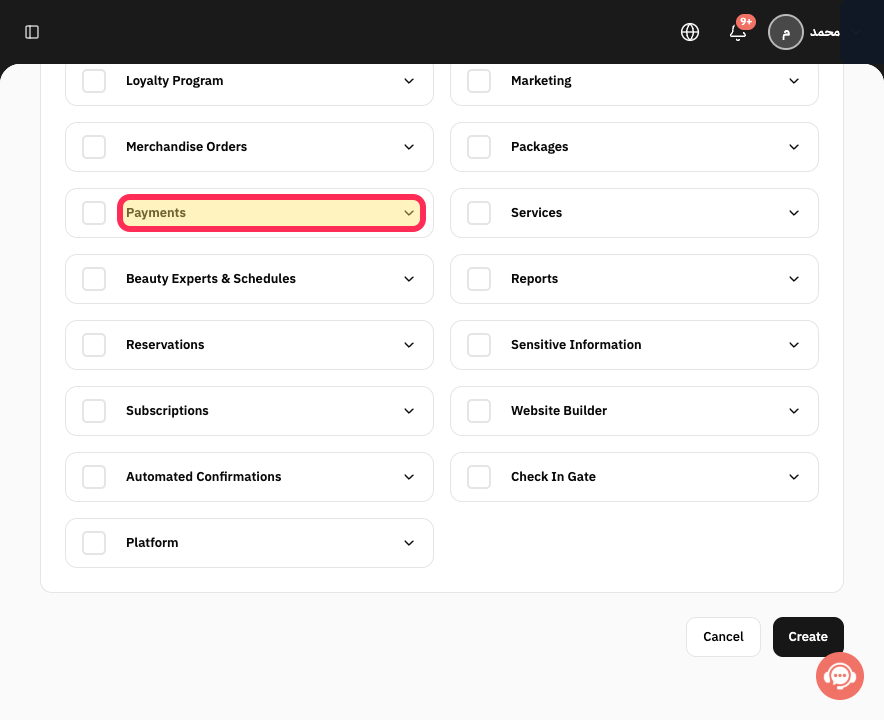
Open each relevant permission group, such as Customers, Payments, Services, or Reports.
The individual actions in the selected permission group are visible.
Enable only the individual actions the role needs, such as View Invoices or Pay Invoices.
The role contains only the selected capabilities.
Review the role and select Create.
The role is submitted and the Roles list opens.
Confirm that the role appears in the Roles list with its Number of Employees. The created role is listed with its employee count.
To change it later, select the role name or use its Actions menu and choose Edit.
The Edit role form opens with Role name, Users, and Permissions.
Update the users or permissions and submit the edit after reviewing its effect on every assigned employee.
The revised role access is ready to save.
Illustrated guide
Step 1: Open employee management in Rekaz.
Step 2: Open the employee Roles tab.
Step 3: Start creating a permission role.
Step 4: Enter the employee Role name.
Step 5: Choose the Users for the role.
Step 6: Review the Grant all permissions control.
Step 7: Open the permission groups required for the job.
Step 8: Choose the individual role permissions.
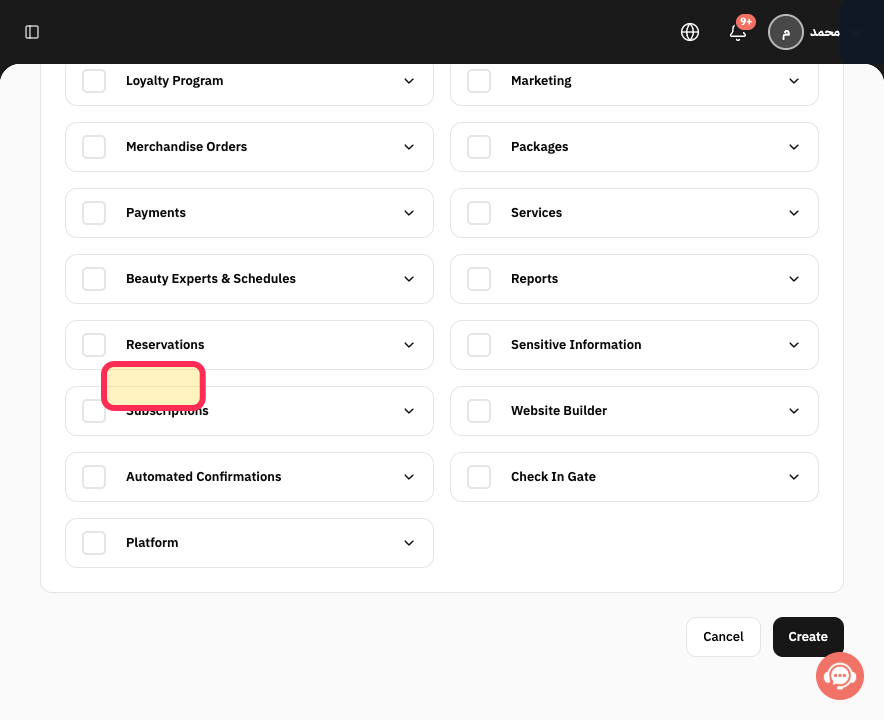
Step 9: Create the employee permission role.
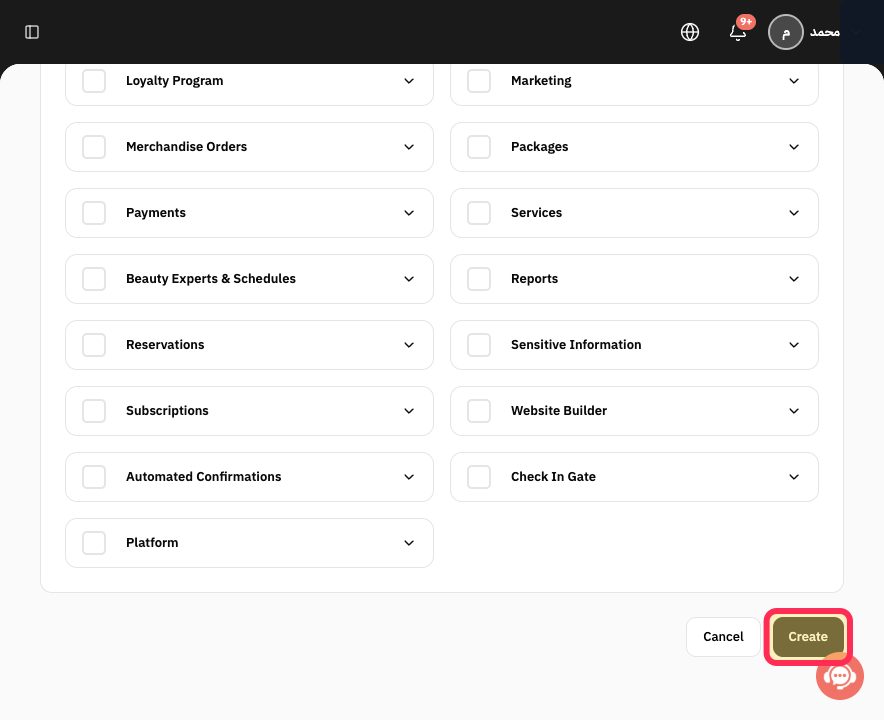
Step 10: Confirm the created role in the Roles list.
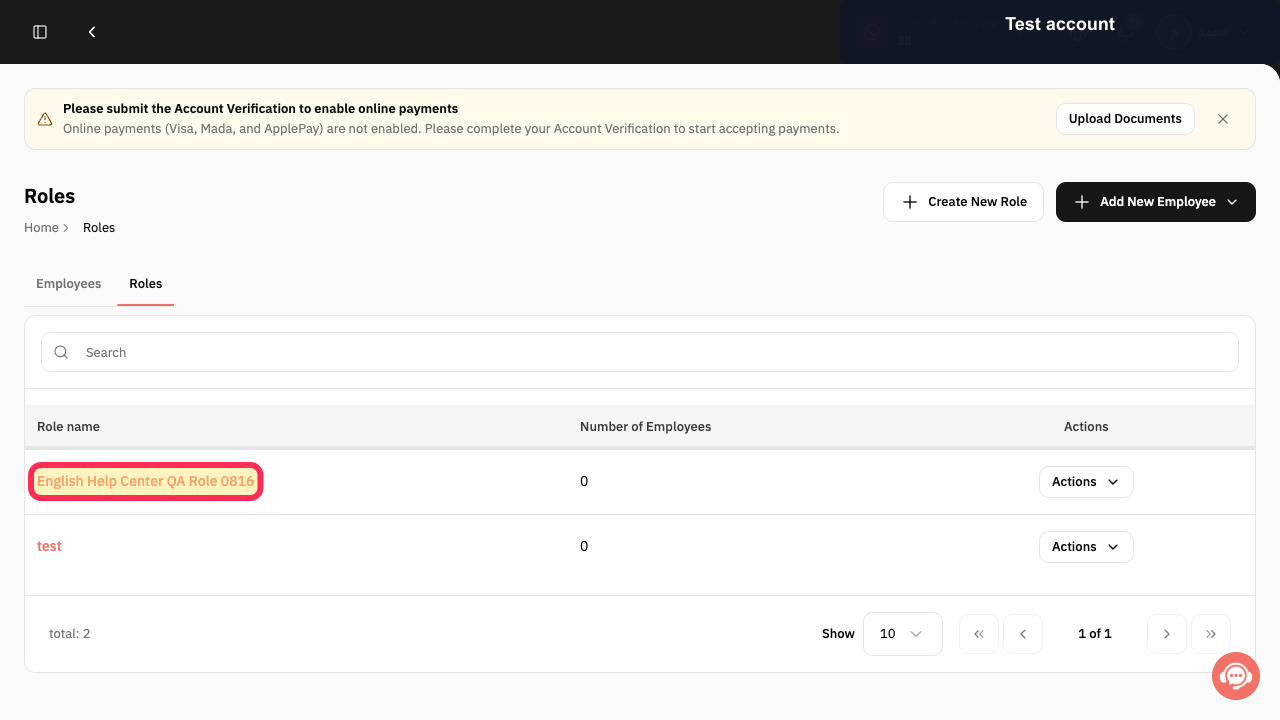
Step 11: Open the saved role for editing.
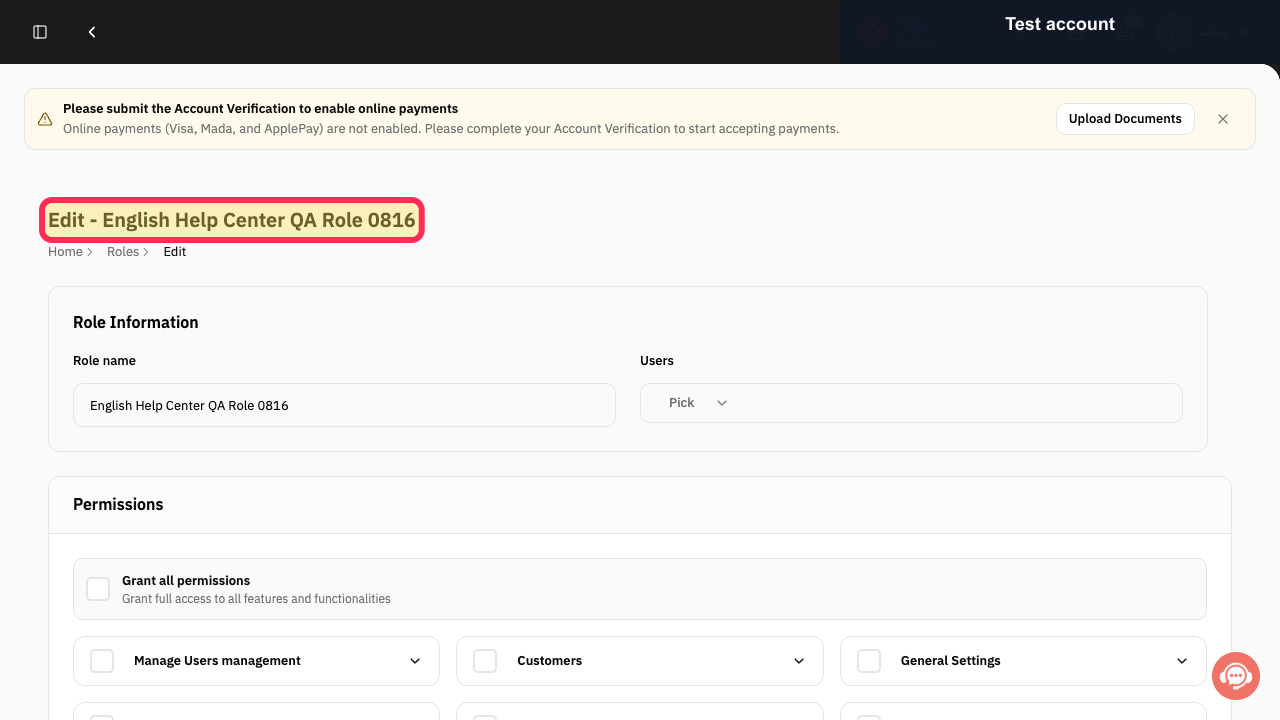
Step 12: Review the editable role users and permissions.
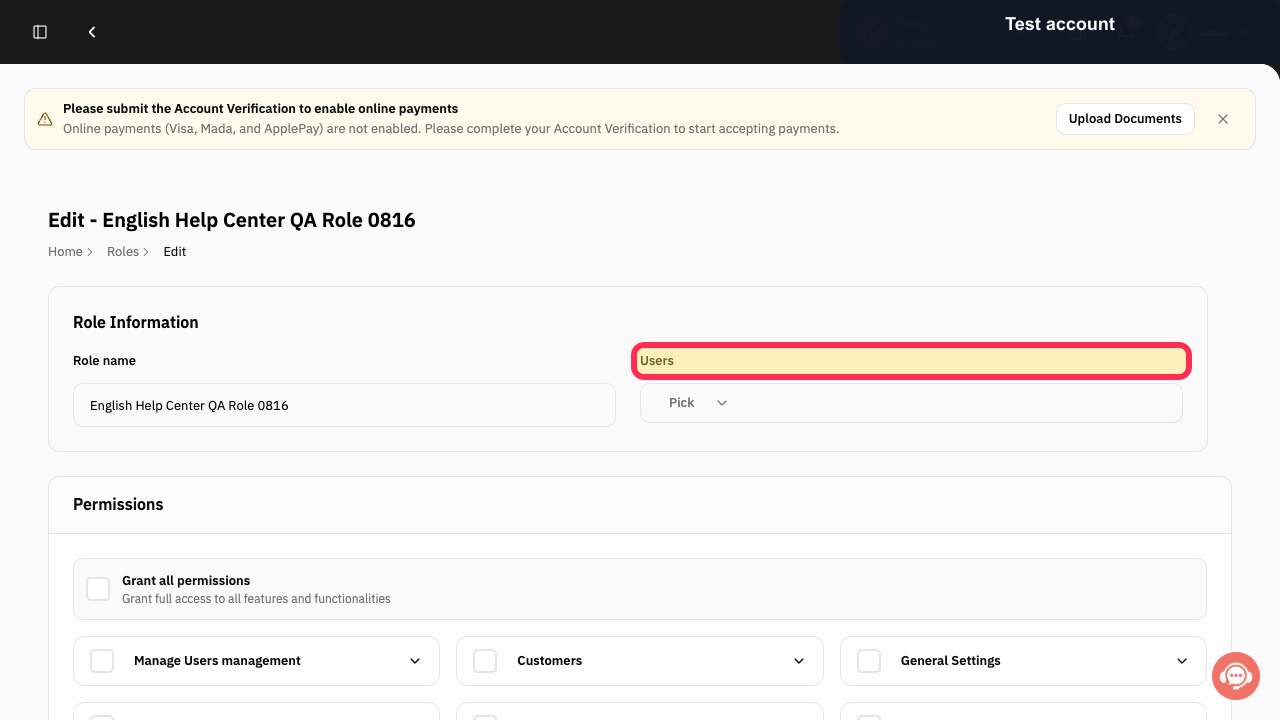
Important access-management guidance
Use the least-privilege approach: grant employees only the permissions they need to perform their work.
Review roles whenever an employee’s responsibilities change or when they leave the business.
Related questions
Where can I find employee permissions in Rekaz?
How do I create an employee role in Rekaz?
How do I edit an employee role in Rekaz?


