How do I add a new branch in Rekaz?
You can add and manage your business branches in Rekaz from one place. After you create a branch, you can later assign the relevant services and Providers to it.
To add a branch, open Settings, select Branches, create a New Branch, enter the Branch Name, and optionally choose your business location from the map before saving.
Steps
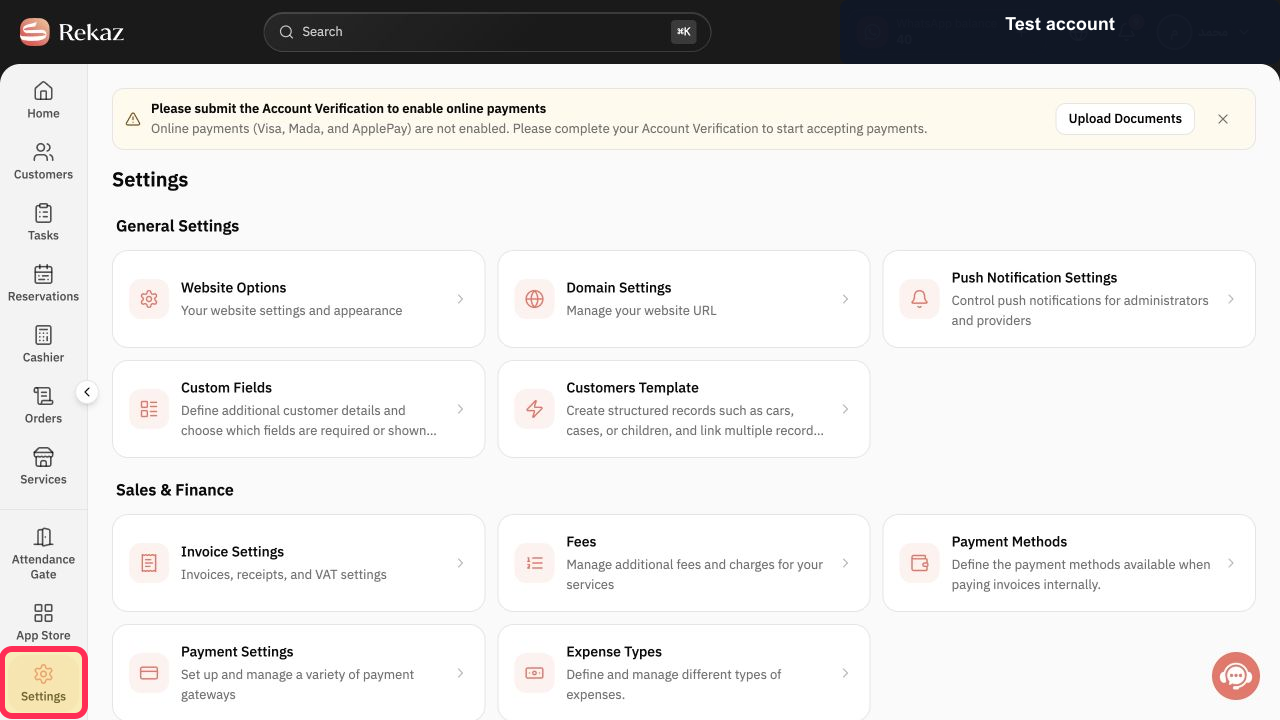
From the sidebar, select Settings.
The Settings page opens and shows the Branches card.
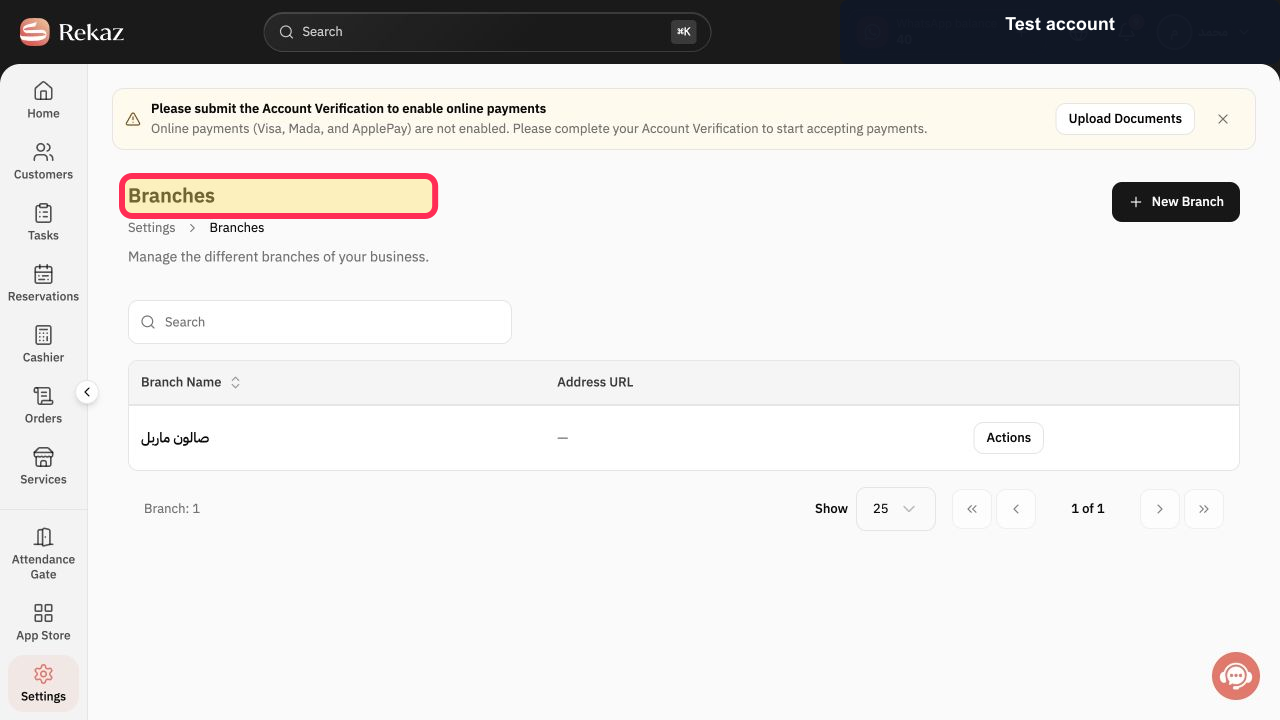
Select the Branches card.
The Branches page opens.
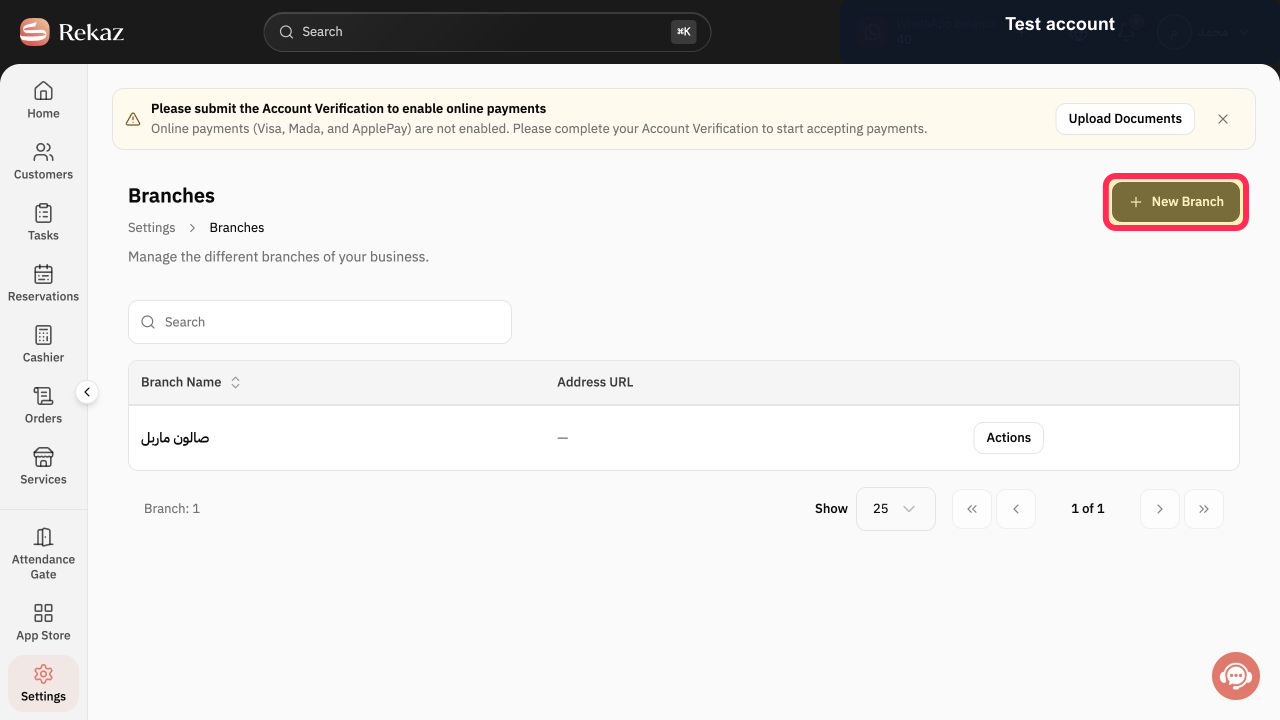
Select New Branch.
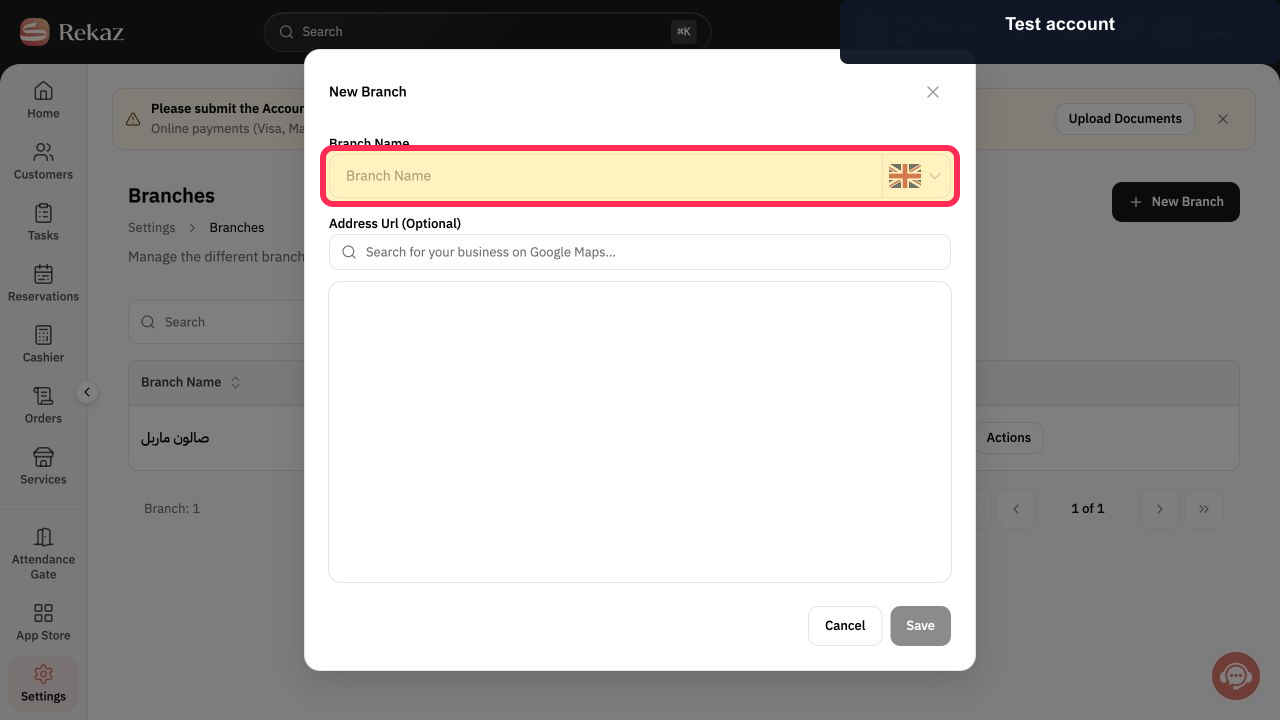
The new branch form opens.
Enter the Branch Name.
The branch name is added to the form.
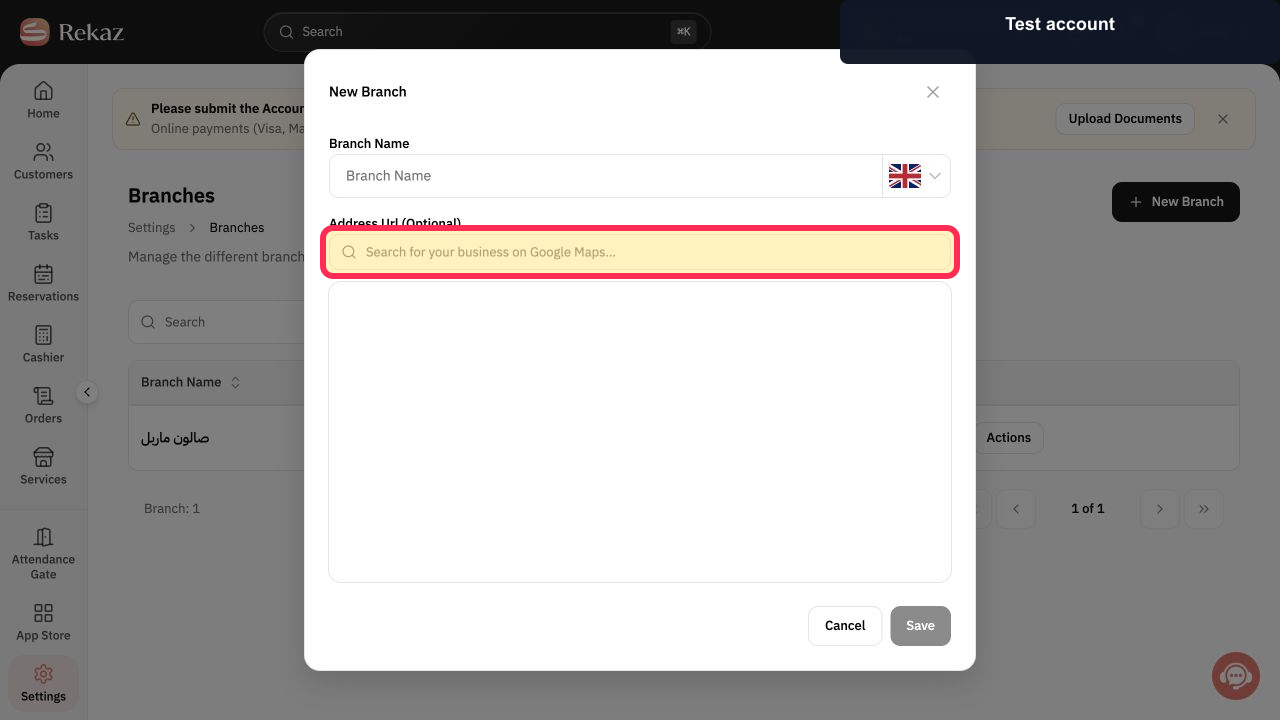
Optionally search for and select your business location on the map.
If you select a map result, the branch is linked to that location.
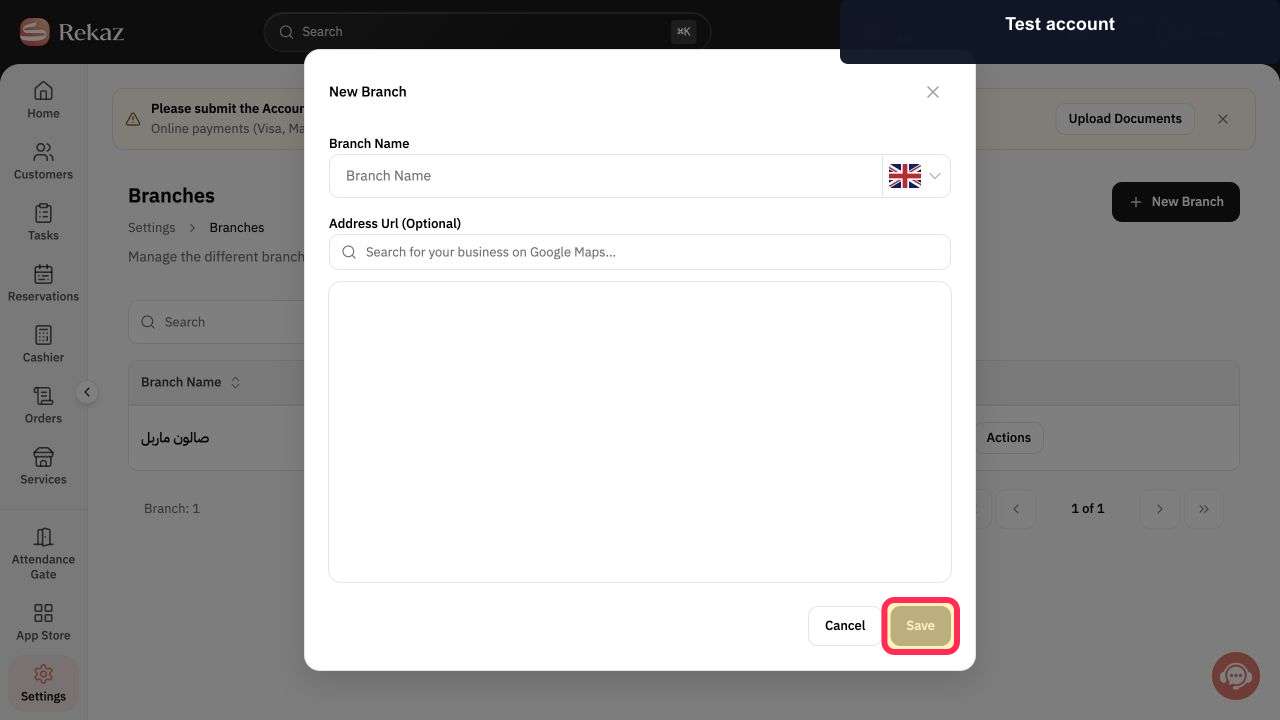
Review the branch details, then select Save when you are ready.
The branch details are submitted for saving.
Illustrated guide
Step 1: Select Settings from the sidebar.
Step 2: Open the Branches settings.
Step 3: Create a new branch.
Step 4: Enter a name for the branch.
Step 5: Optionally select the business location from the map.
Step 6: Review the branch details and save.
Important notes
Selecting a map result for the branch location is optional in the current interface.
A branch was not created during the documented walkthrough, so successful creation was not verified.
Related questions
How do I create a second branch in Rekaz?
Where can I add a new location for my business in Rekaz?
How do I manage branches in Rekaz?


